Pita Bread
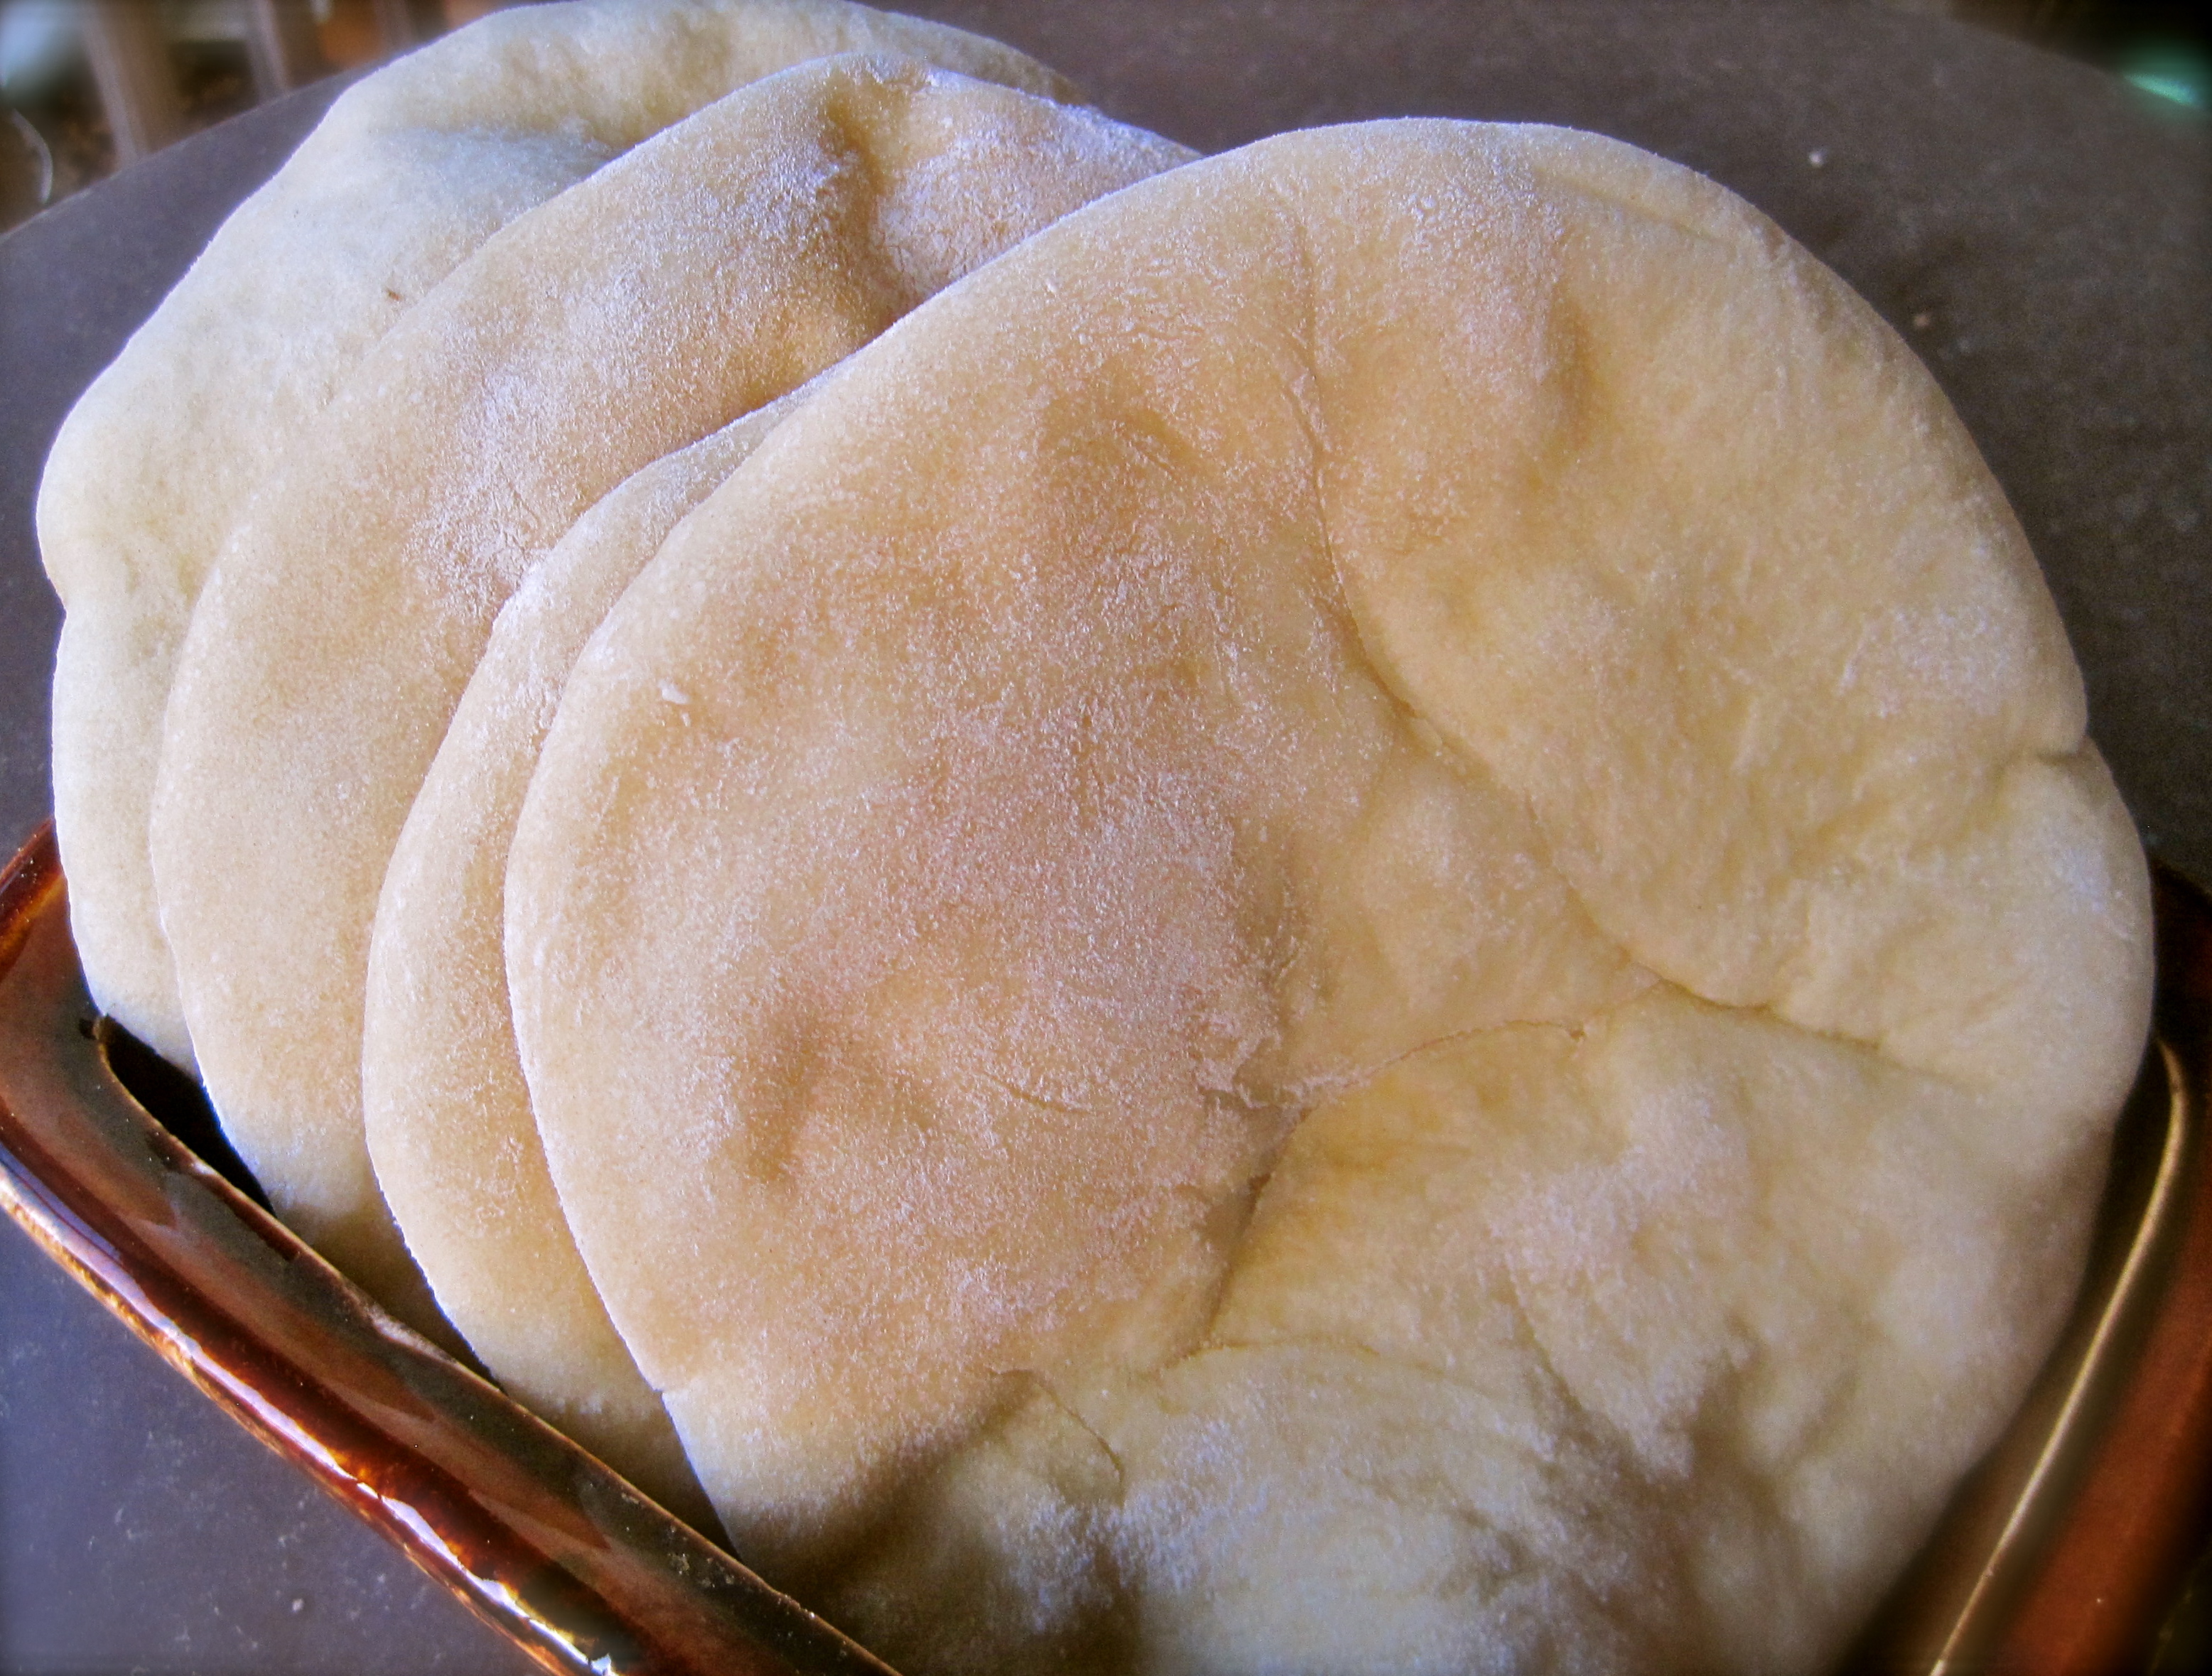
Last night I went to a potluck dinner with all of the people from my lab. It was unlike any I had been to before; probably because nearly everyone there is a food and brand researcher. Oh, and they LOVE food. Now I don't want to give Northeast Tennessee a bad rep, but most of the potlucks I attended growing up consisted of a massive amount of mayo-laden "salads" - potato salad, egg salad, macaroni salad, ambrosia salad, tuna salad, Spam salad (yeah, don't even get me started). And I can't forget to mention the deviled eggs, fried chicken, Circle Burgers (a local favorite in my hometown), brownies from a box, Lofthouse cookies, and several different brands of ripple-style potato chips with onion dip.
Talk about a "culinary adventure".
But last night was a veritable foodie feast. There were tons of incredible salads - from an awesome vegan quinoa salad to a deliciously authentic Caprese and several others in between. There was chicken with plum sauce, peanuty soba noodles, homemade goat cheese biscuits, tiny Finnish treats, beautiful stuffed peppers, tasty rice and beans, gorgeous fruit, and tons of homemade desserts.
Oh, and there was fuschia-colored beet hummus. I think that probably blew my mind most of all. I don't have any beets on hand, but if I did I would make this immediately and eat it with the pita bread that I am sharing with you.
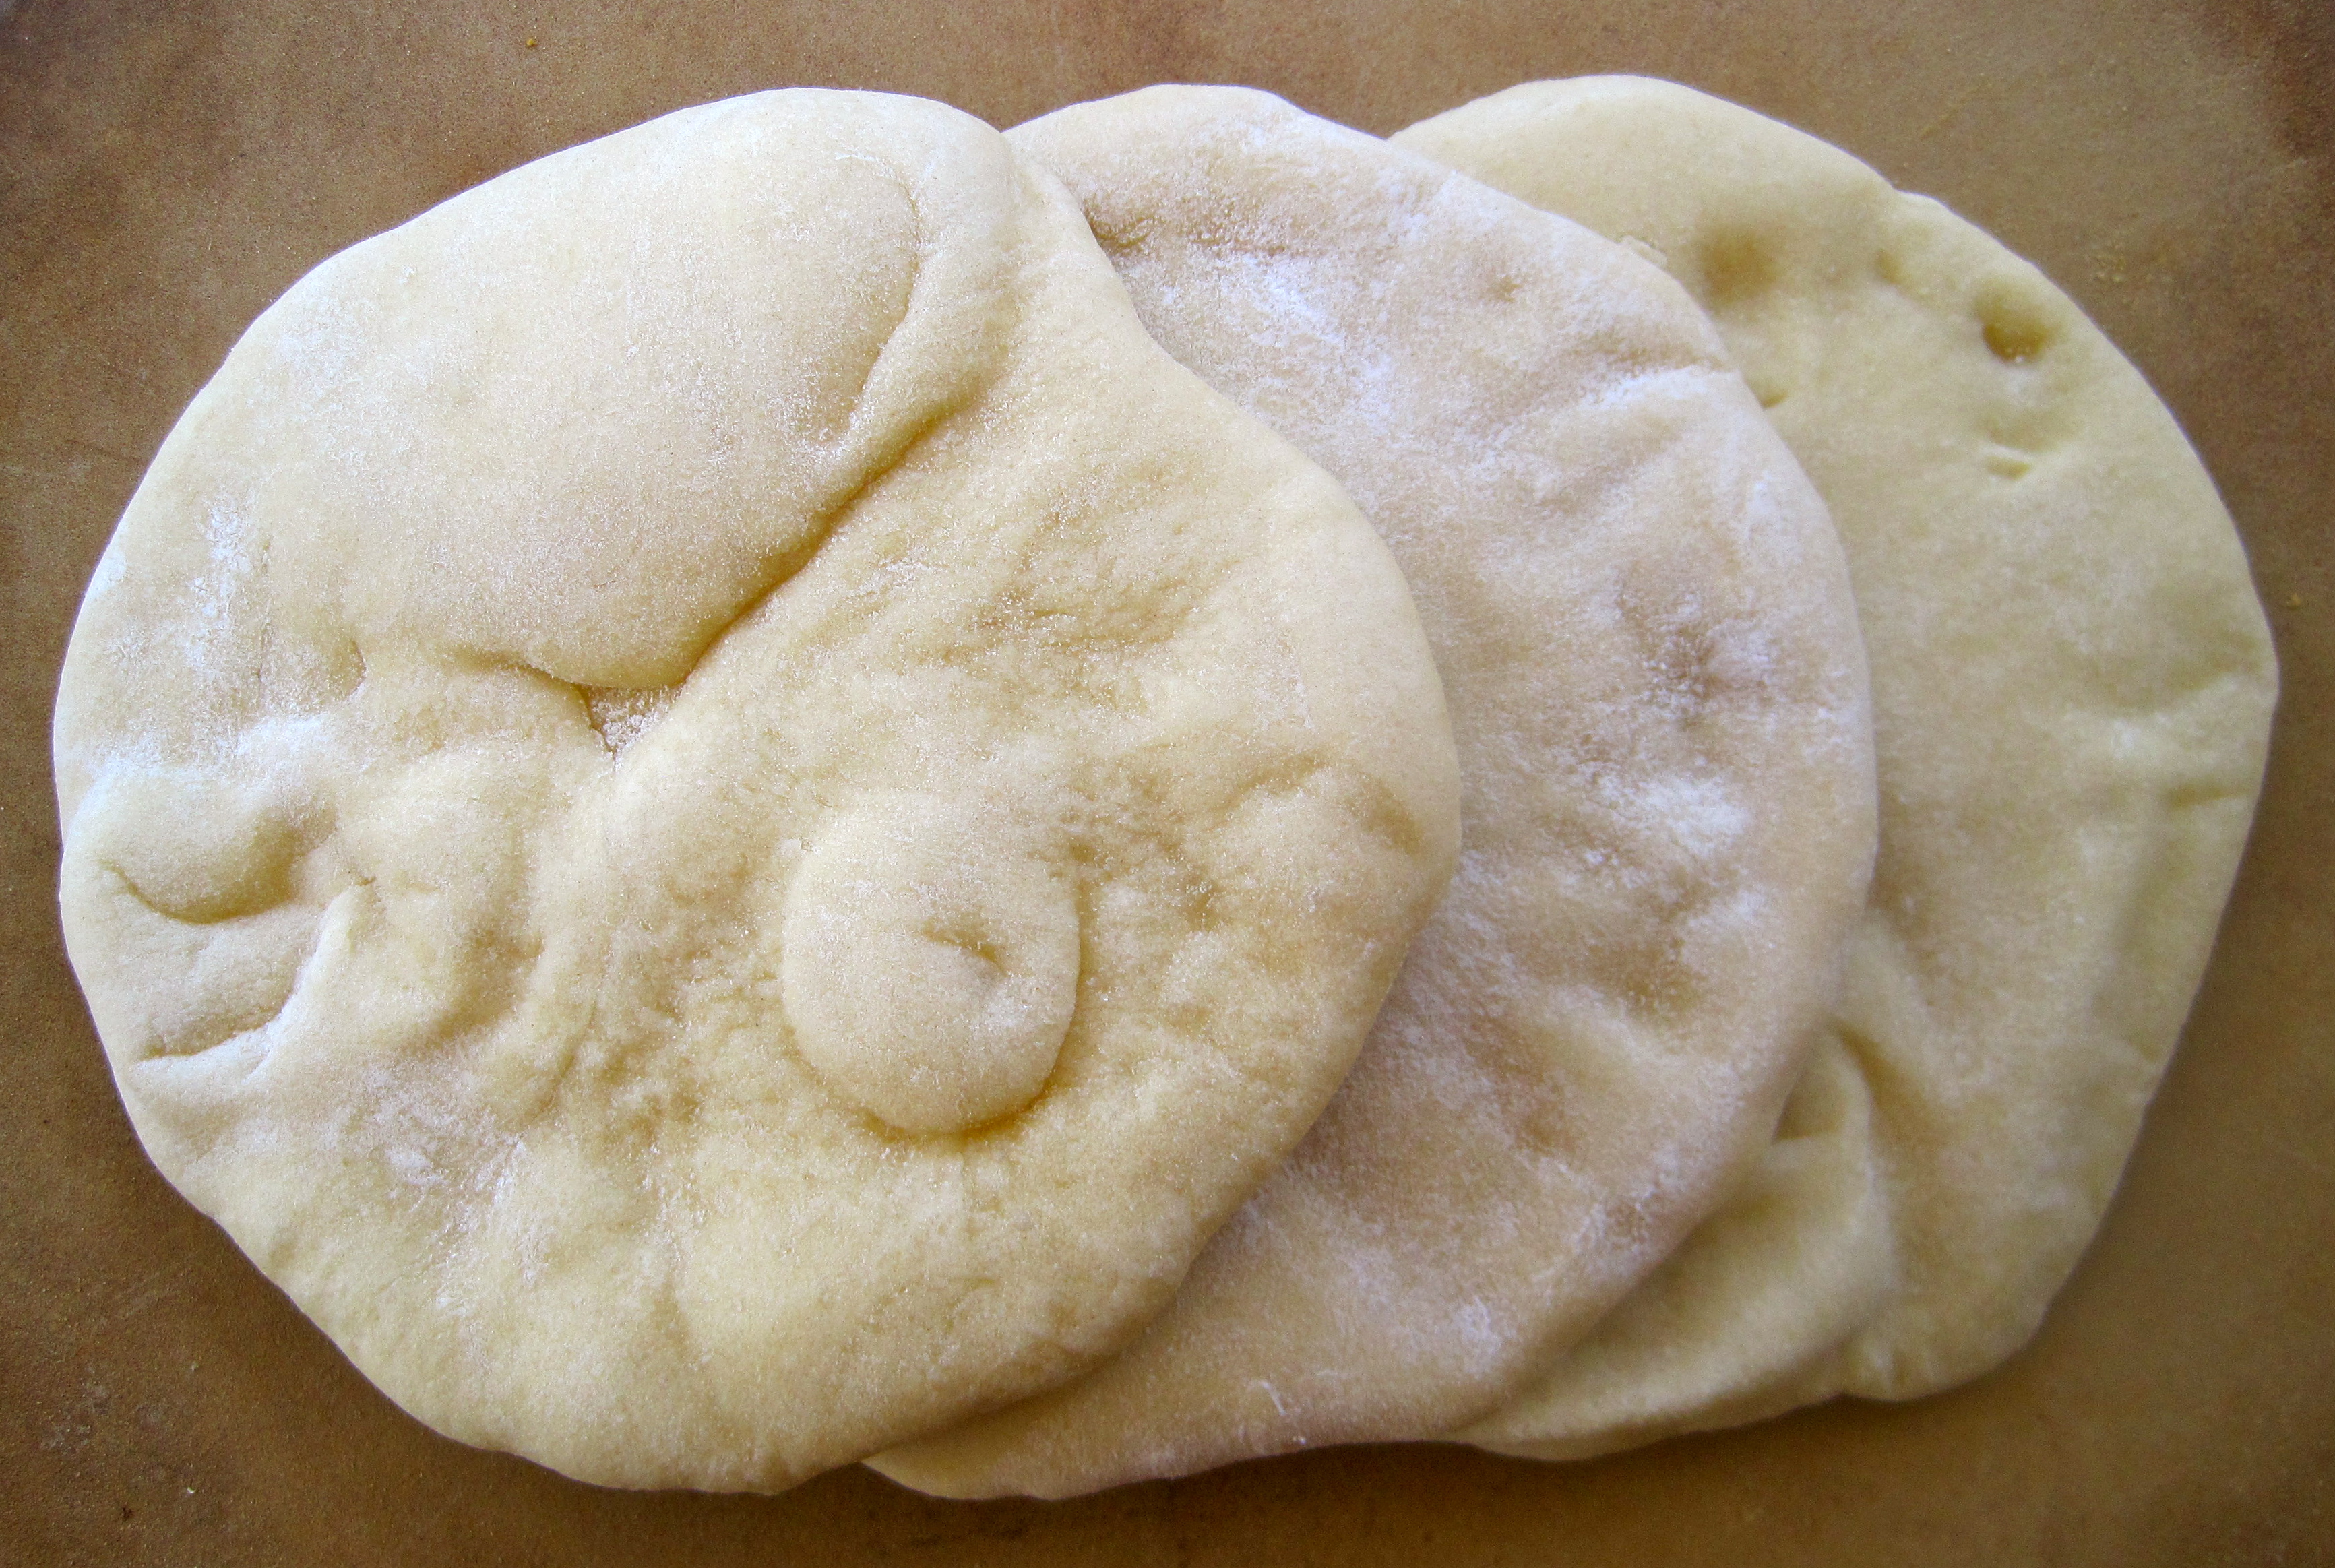
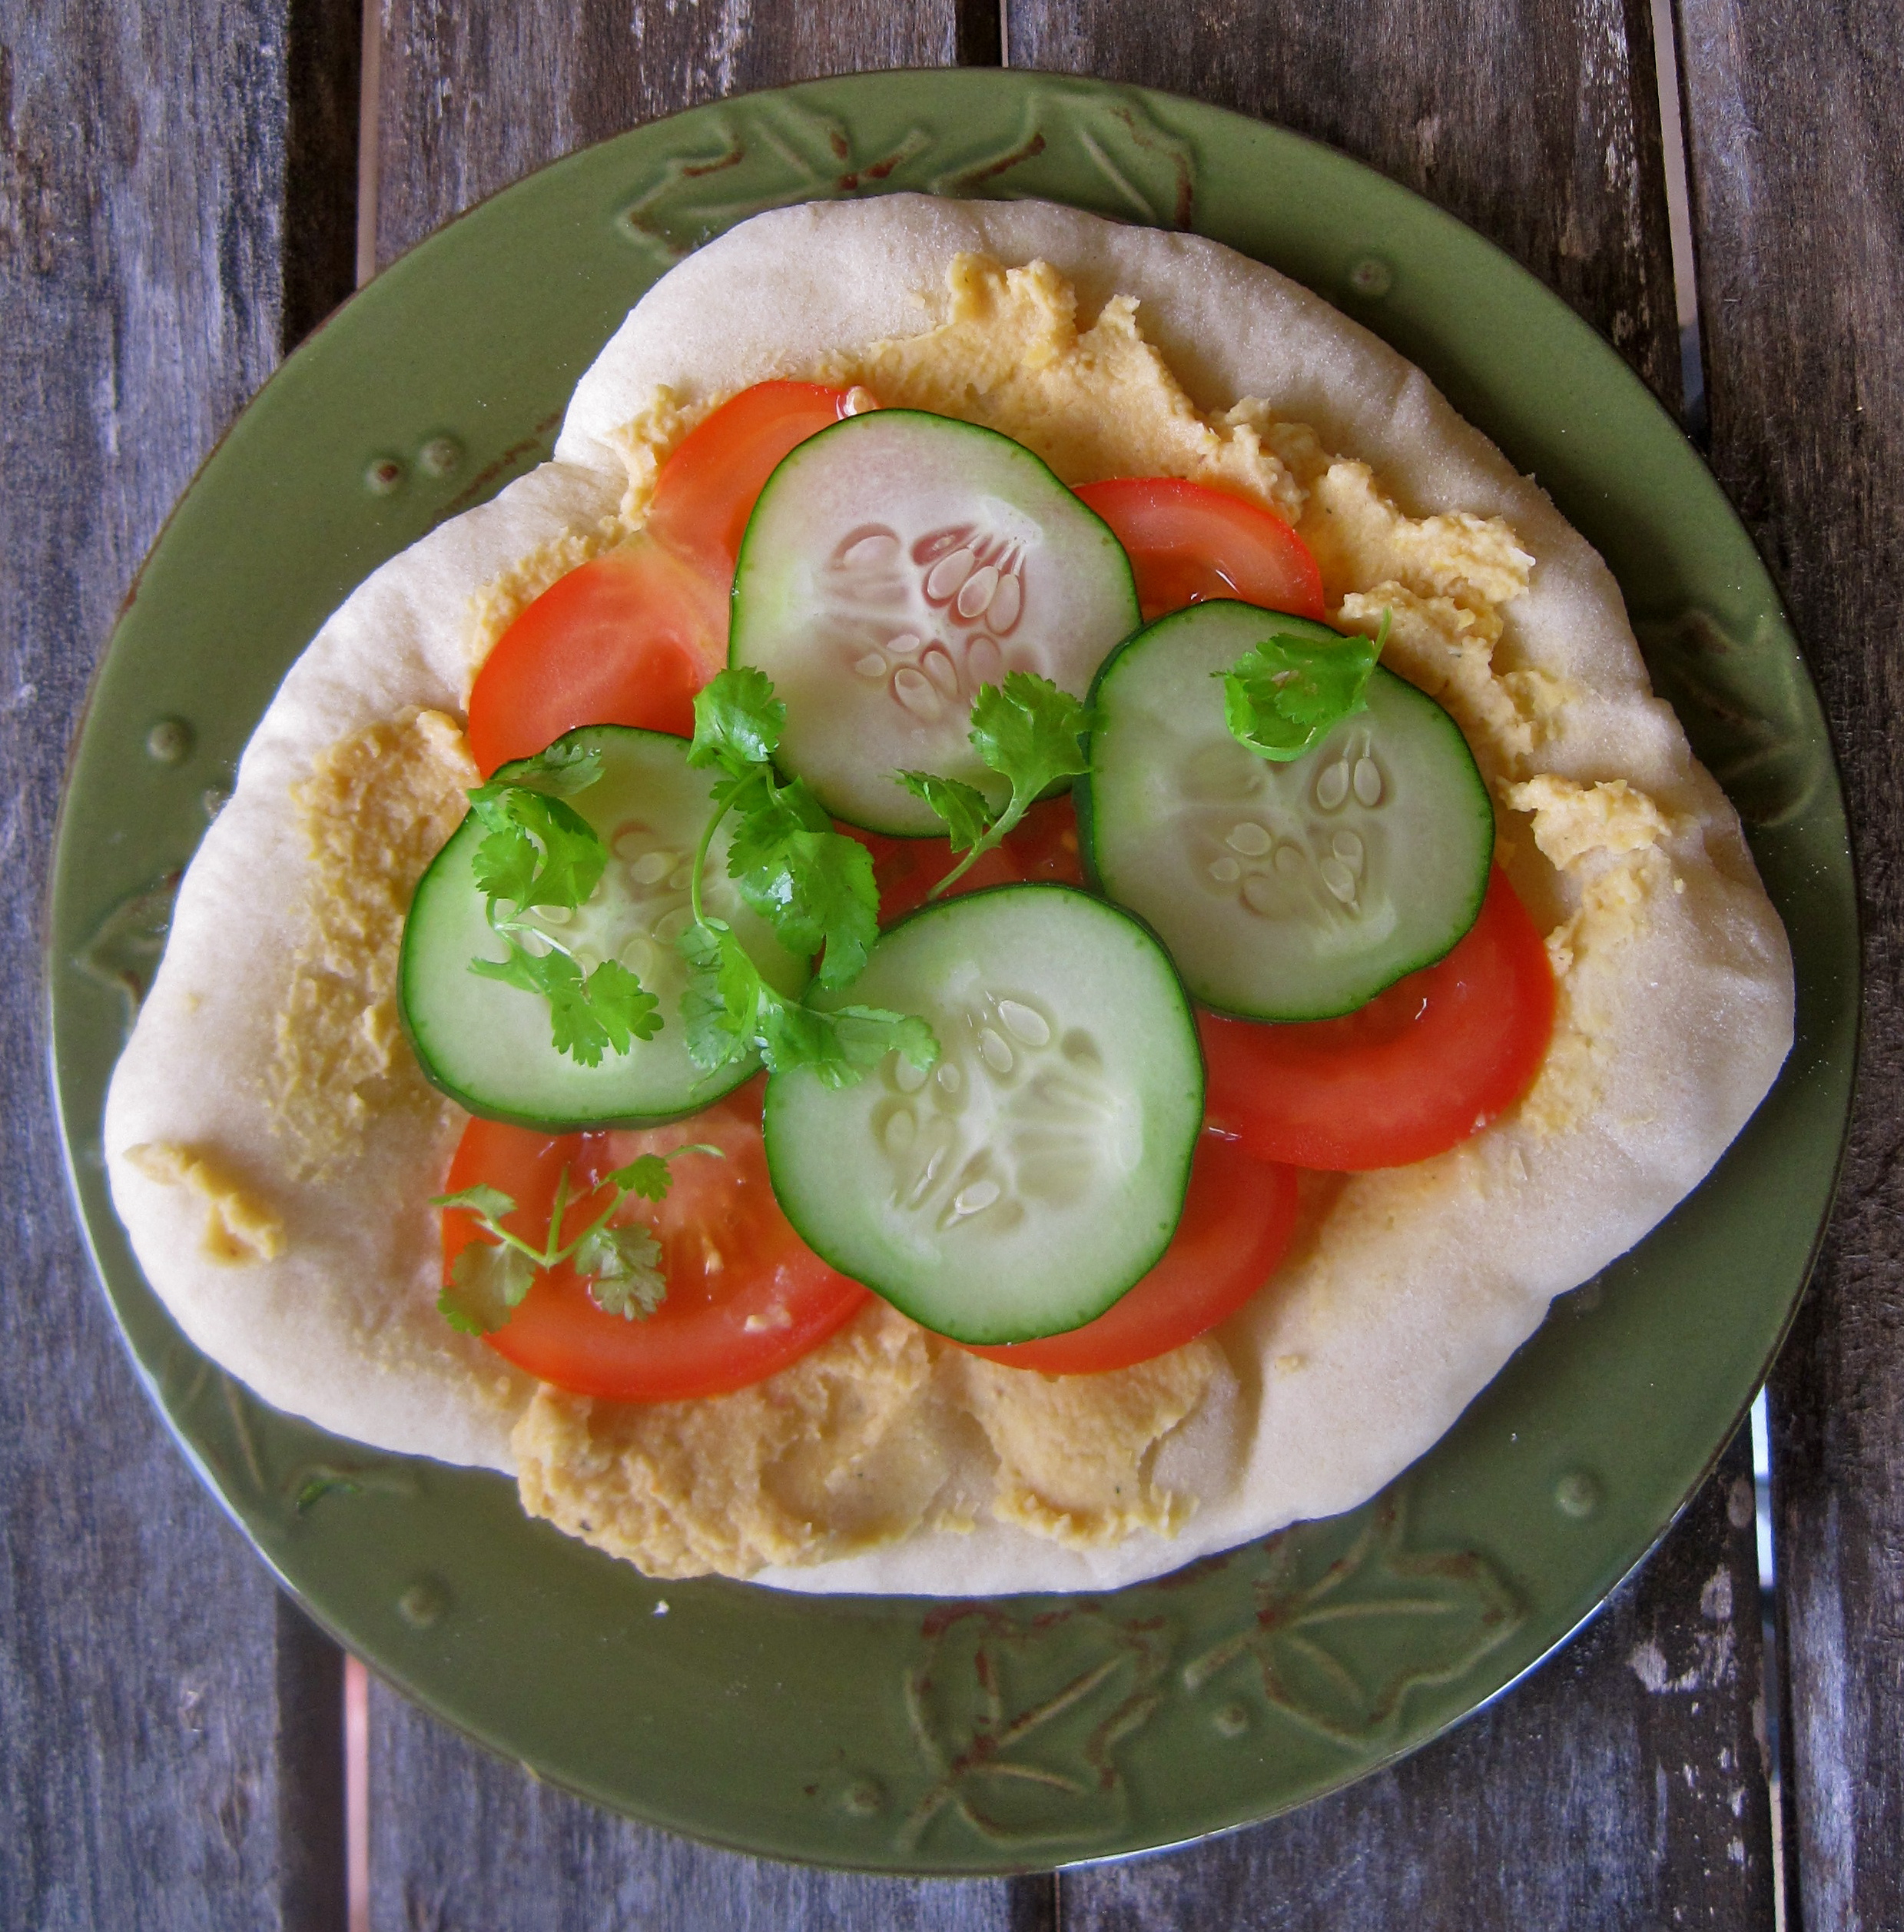
One of my favorite foods on Earth (Okay, so I have several "favorite foods on Earth - give me a break) is pita and hummus, and these pitas are the perfect wagon for your hummus crazy train. I don't really know where that came from, but let's just go with it.
These pitas are seriously Ah-mazing. They are so fresh, you may not ever want to go back to buying pita bread from the store again.
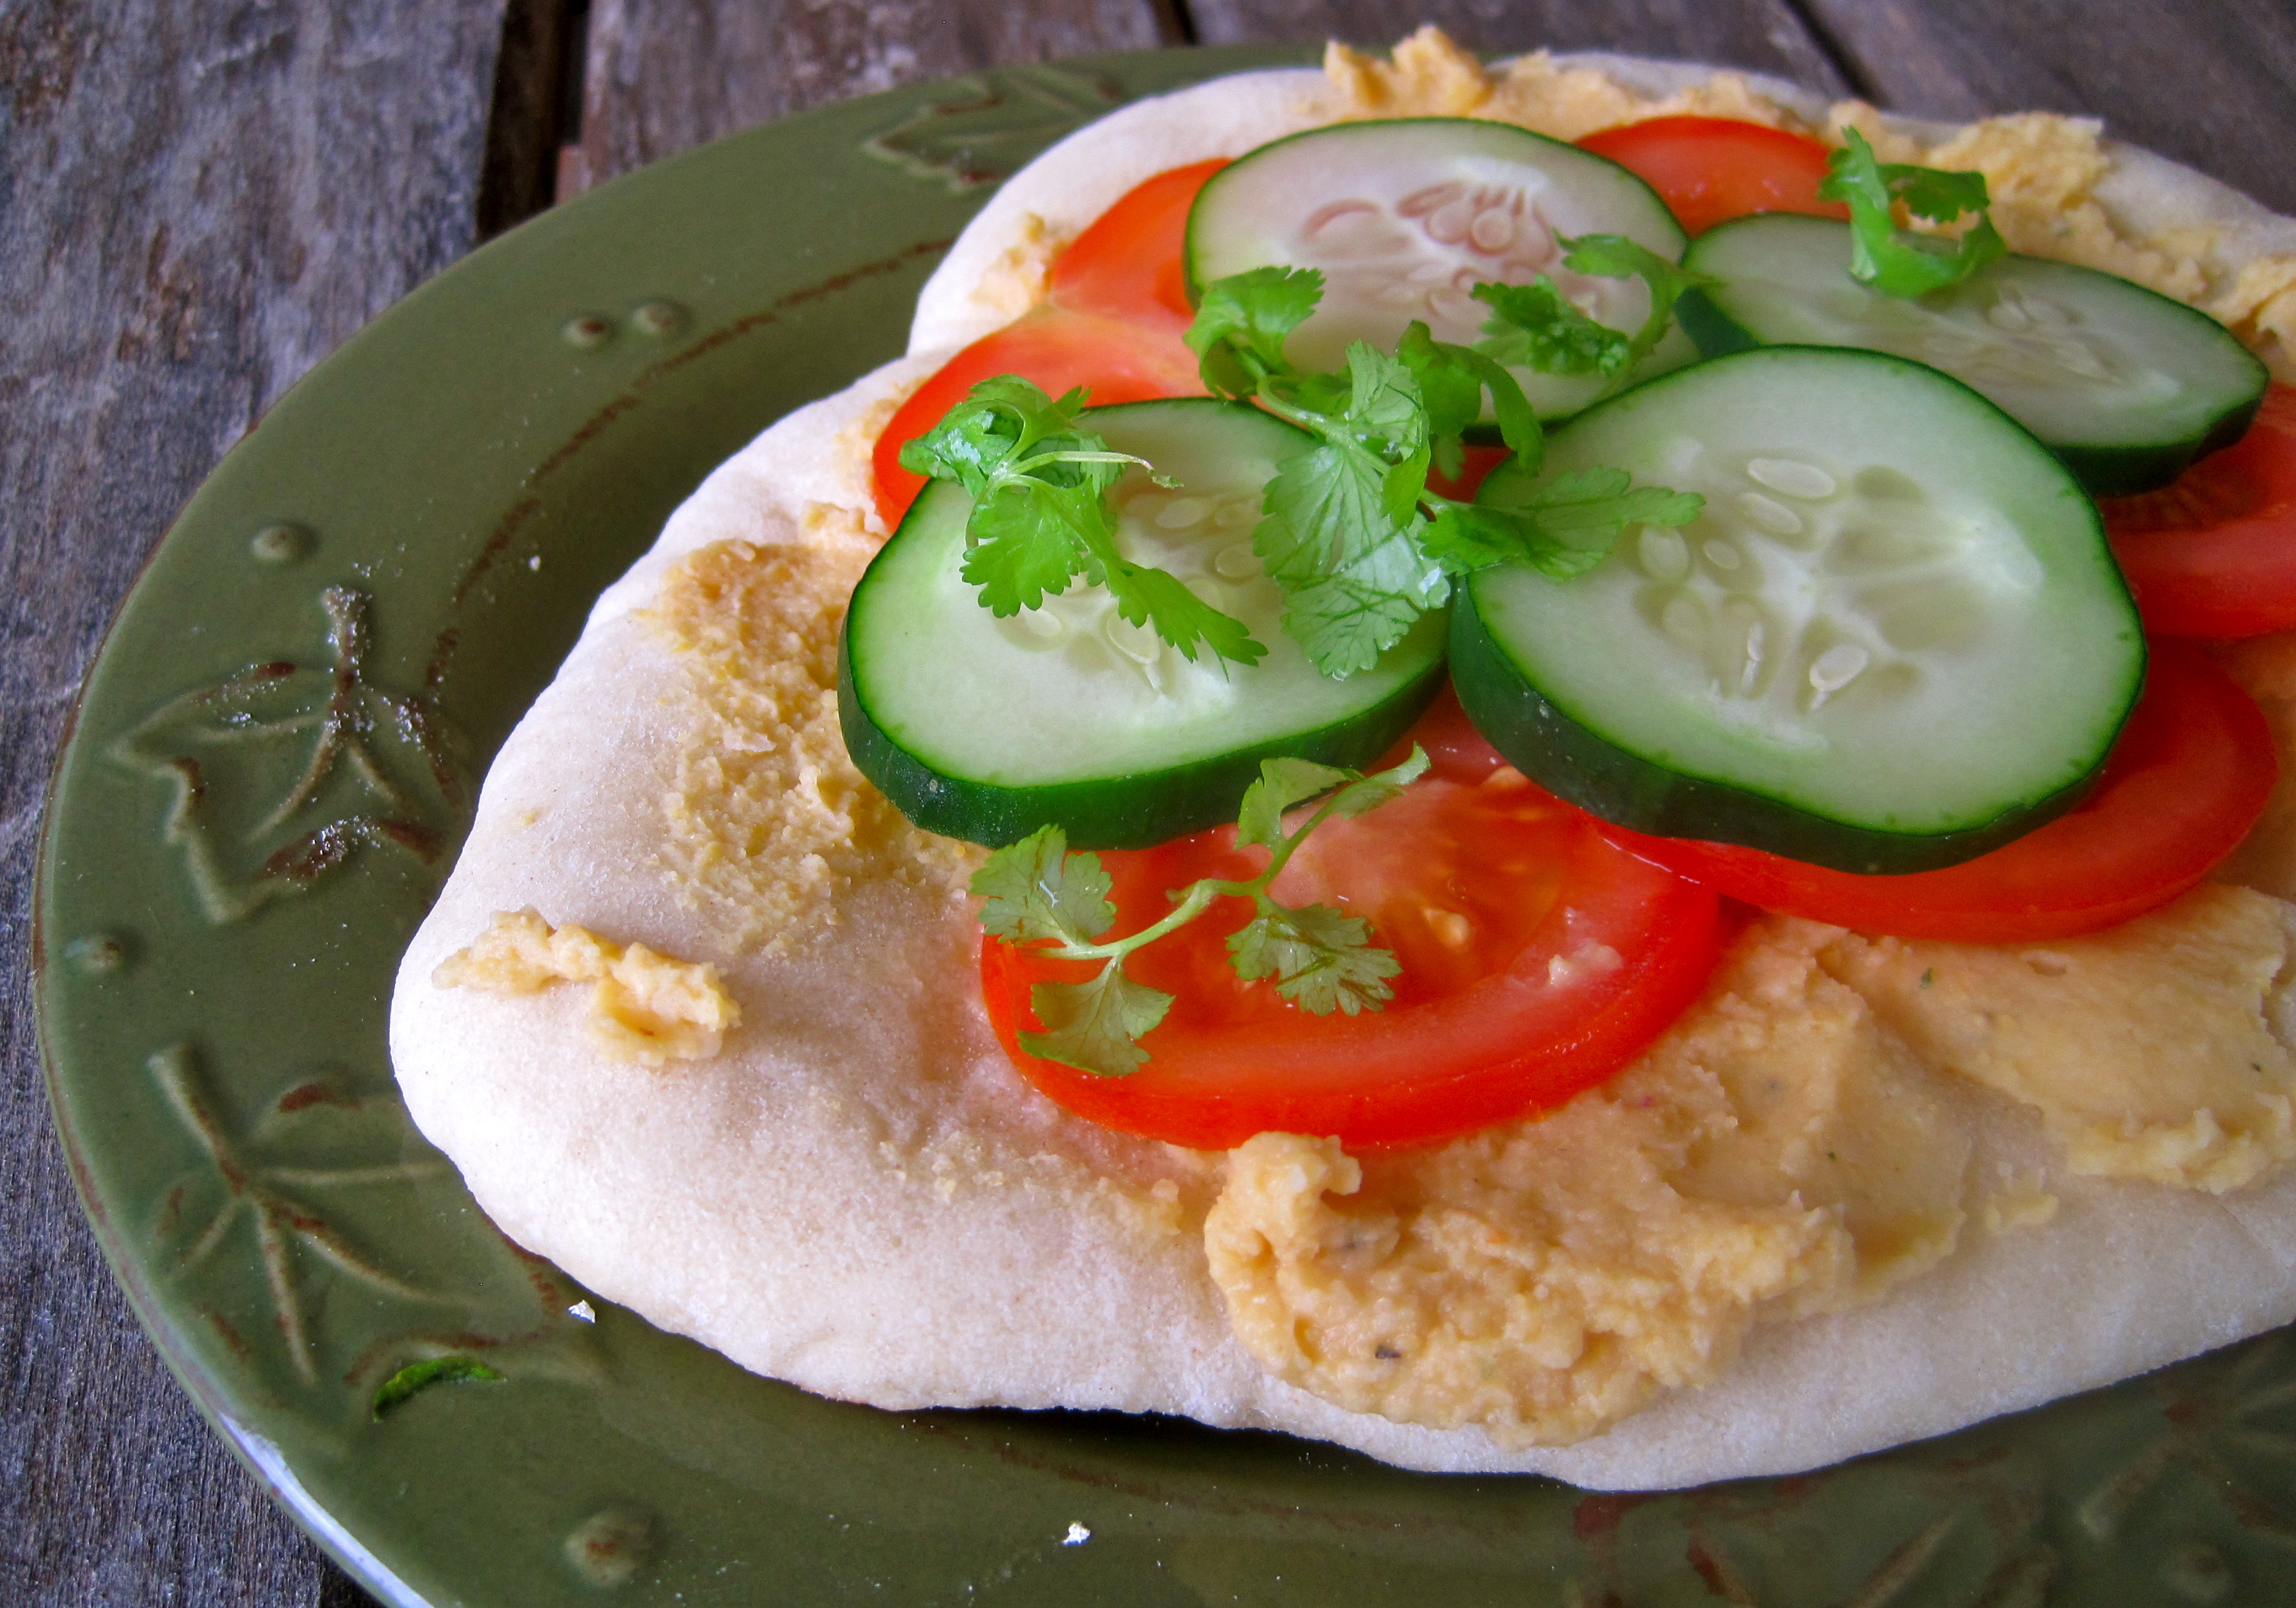
Next time you have a potluck - or if you need the perfect wagon for your hummus crazy train - make these pitas. They won't disappoint.Unless, of course, you're from Northeast Tennessee like me. Then you may just want to stick with your "pa-tay-tah salad".
Pita Bread
Makes 8 pitas
The procedure for these pitas may look long and difficult, but I promise they are very easy. There are a lot of steps, but they don't take very long and the results are incredible. These compare to the pitas I had in Israel. Yeah, that good.
I kneaded my dough for 10 minutes by hand. The original recipe said you can use an electric mixer to knead the dough. I didn't do it this way, so I can't promise how the pitas will turn out.
I used a baking stone for my pitas and was very happy with the results. If you can get your hands on one I'd very much recommend it - but a sheet pan will work too.
Ingredients
- 3 cups flour
- 1-1/2 teaspoons salt
- 1 Tablespoon honey (or sugar to make vegan)
- 1 packet yeast
- 1-1/4 to 1-1/2 cups water, roughly at room temperature
- 2 tablespoons olive oil (or vegetable oil, butter, shortening - use oil if making vegan)
Method
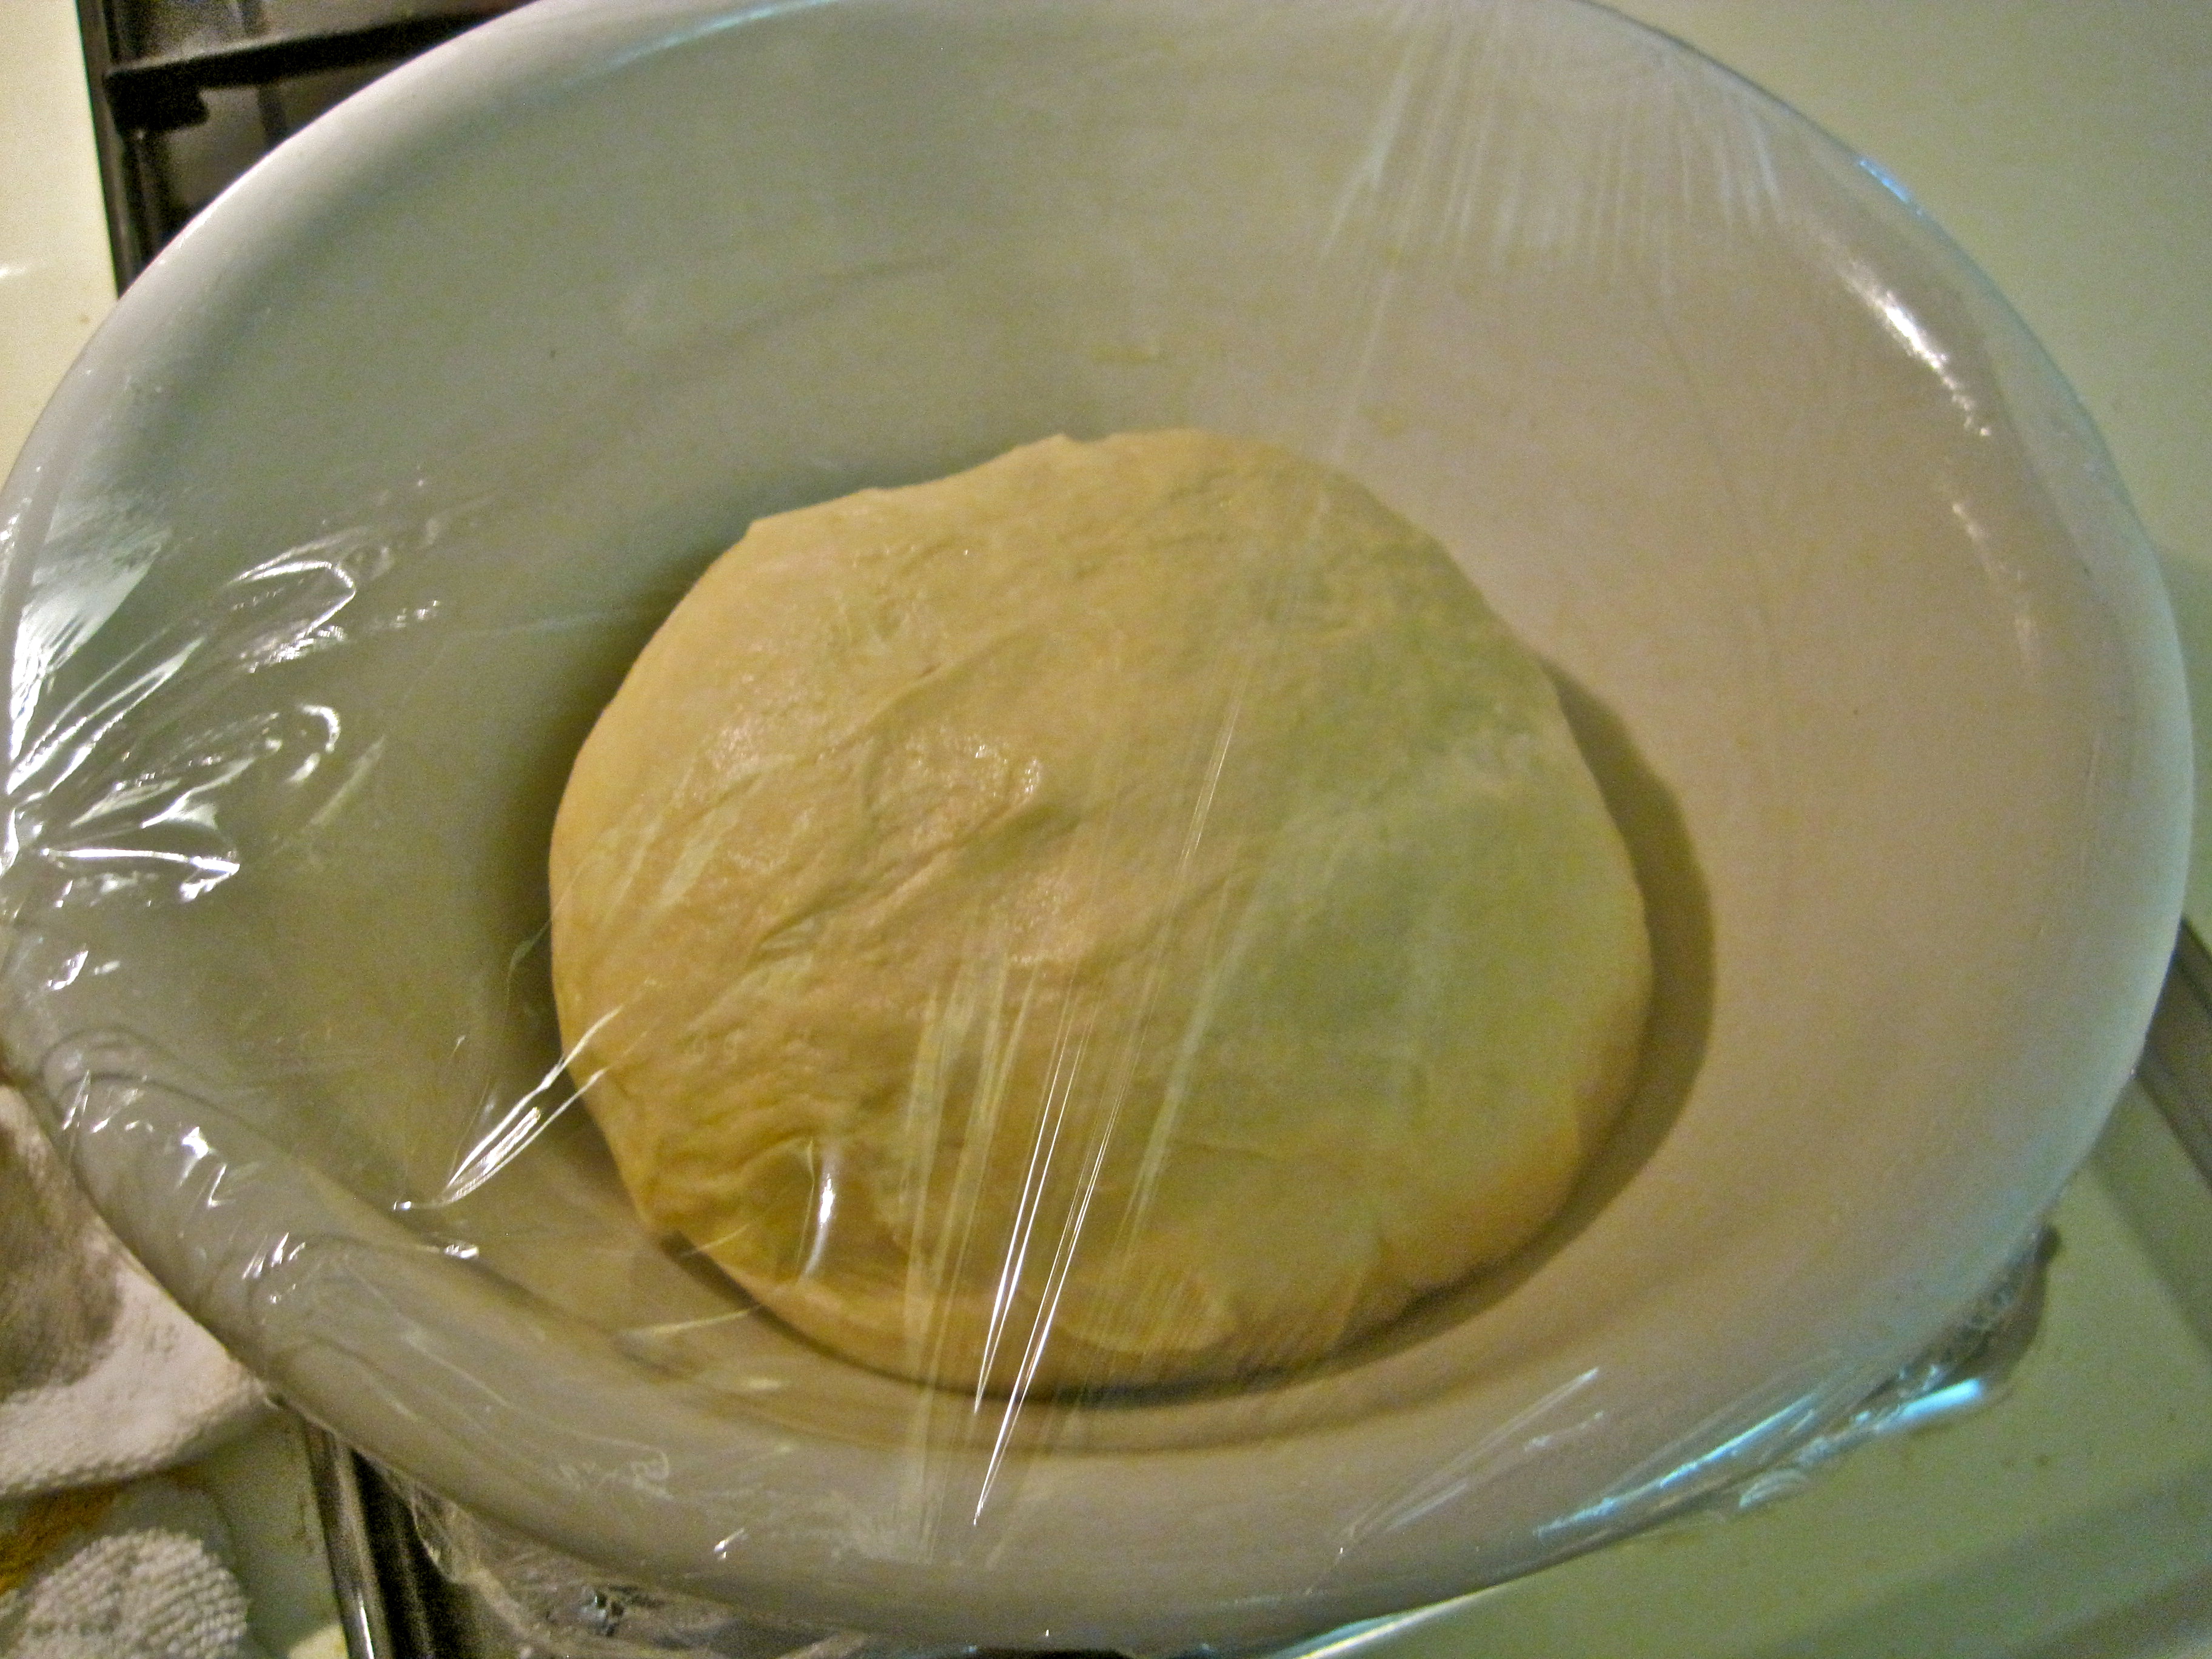
1. Mix the yeast in with the flour, salt, and honey. Add the olive oil and 1-1/4 cup water and stir together (I used my hands). All of the ingredients should form a ball. I had to add extra flour to get my pitas to form a ball.Once all of the ingredients form a ball, place the ball on a work surface and knead for 10 minutes. Mine came out perfectly after 10 minutes of kneading.
2. After kneading, form it into a round ball and place it in a lightly oiled bowl. Roll the dough ball around in the bowl so that it is lightly coated in oil. Cover bowl with plastic wrap or a damp kitchen towel and set aside to rise until doubled in size, about 90 minutes.
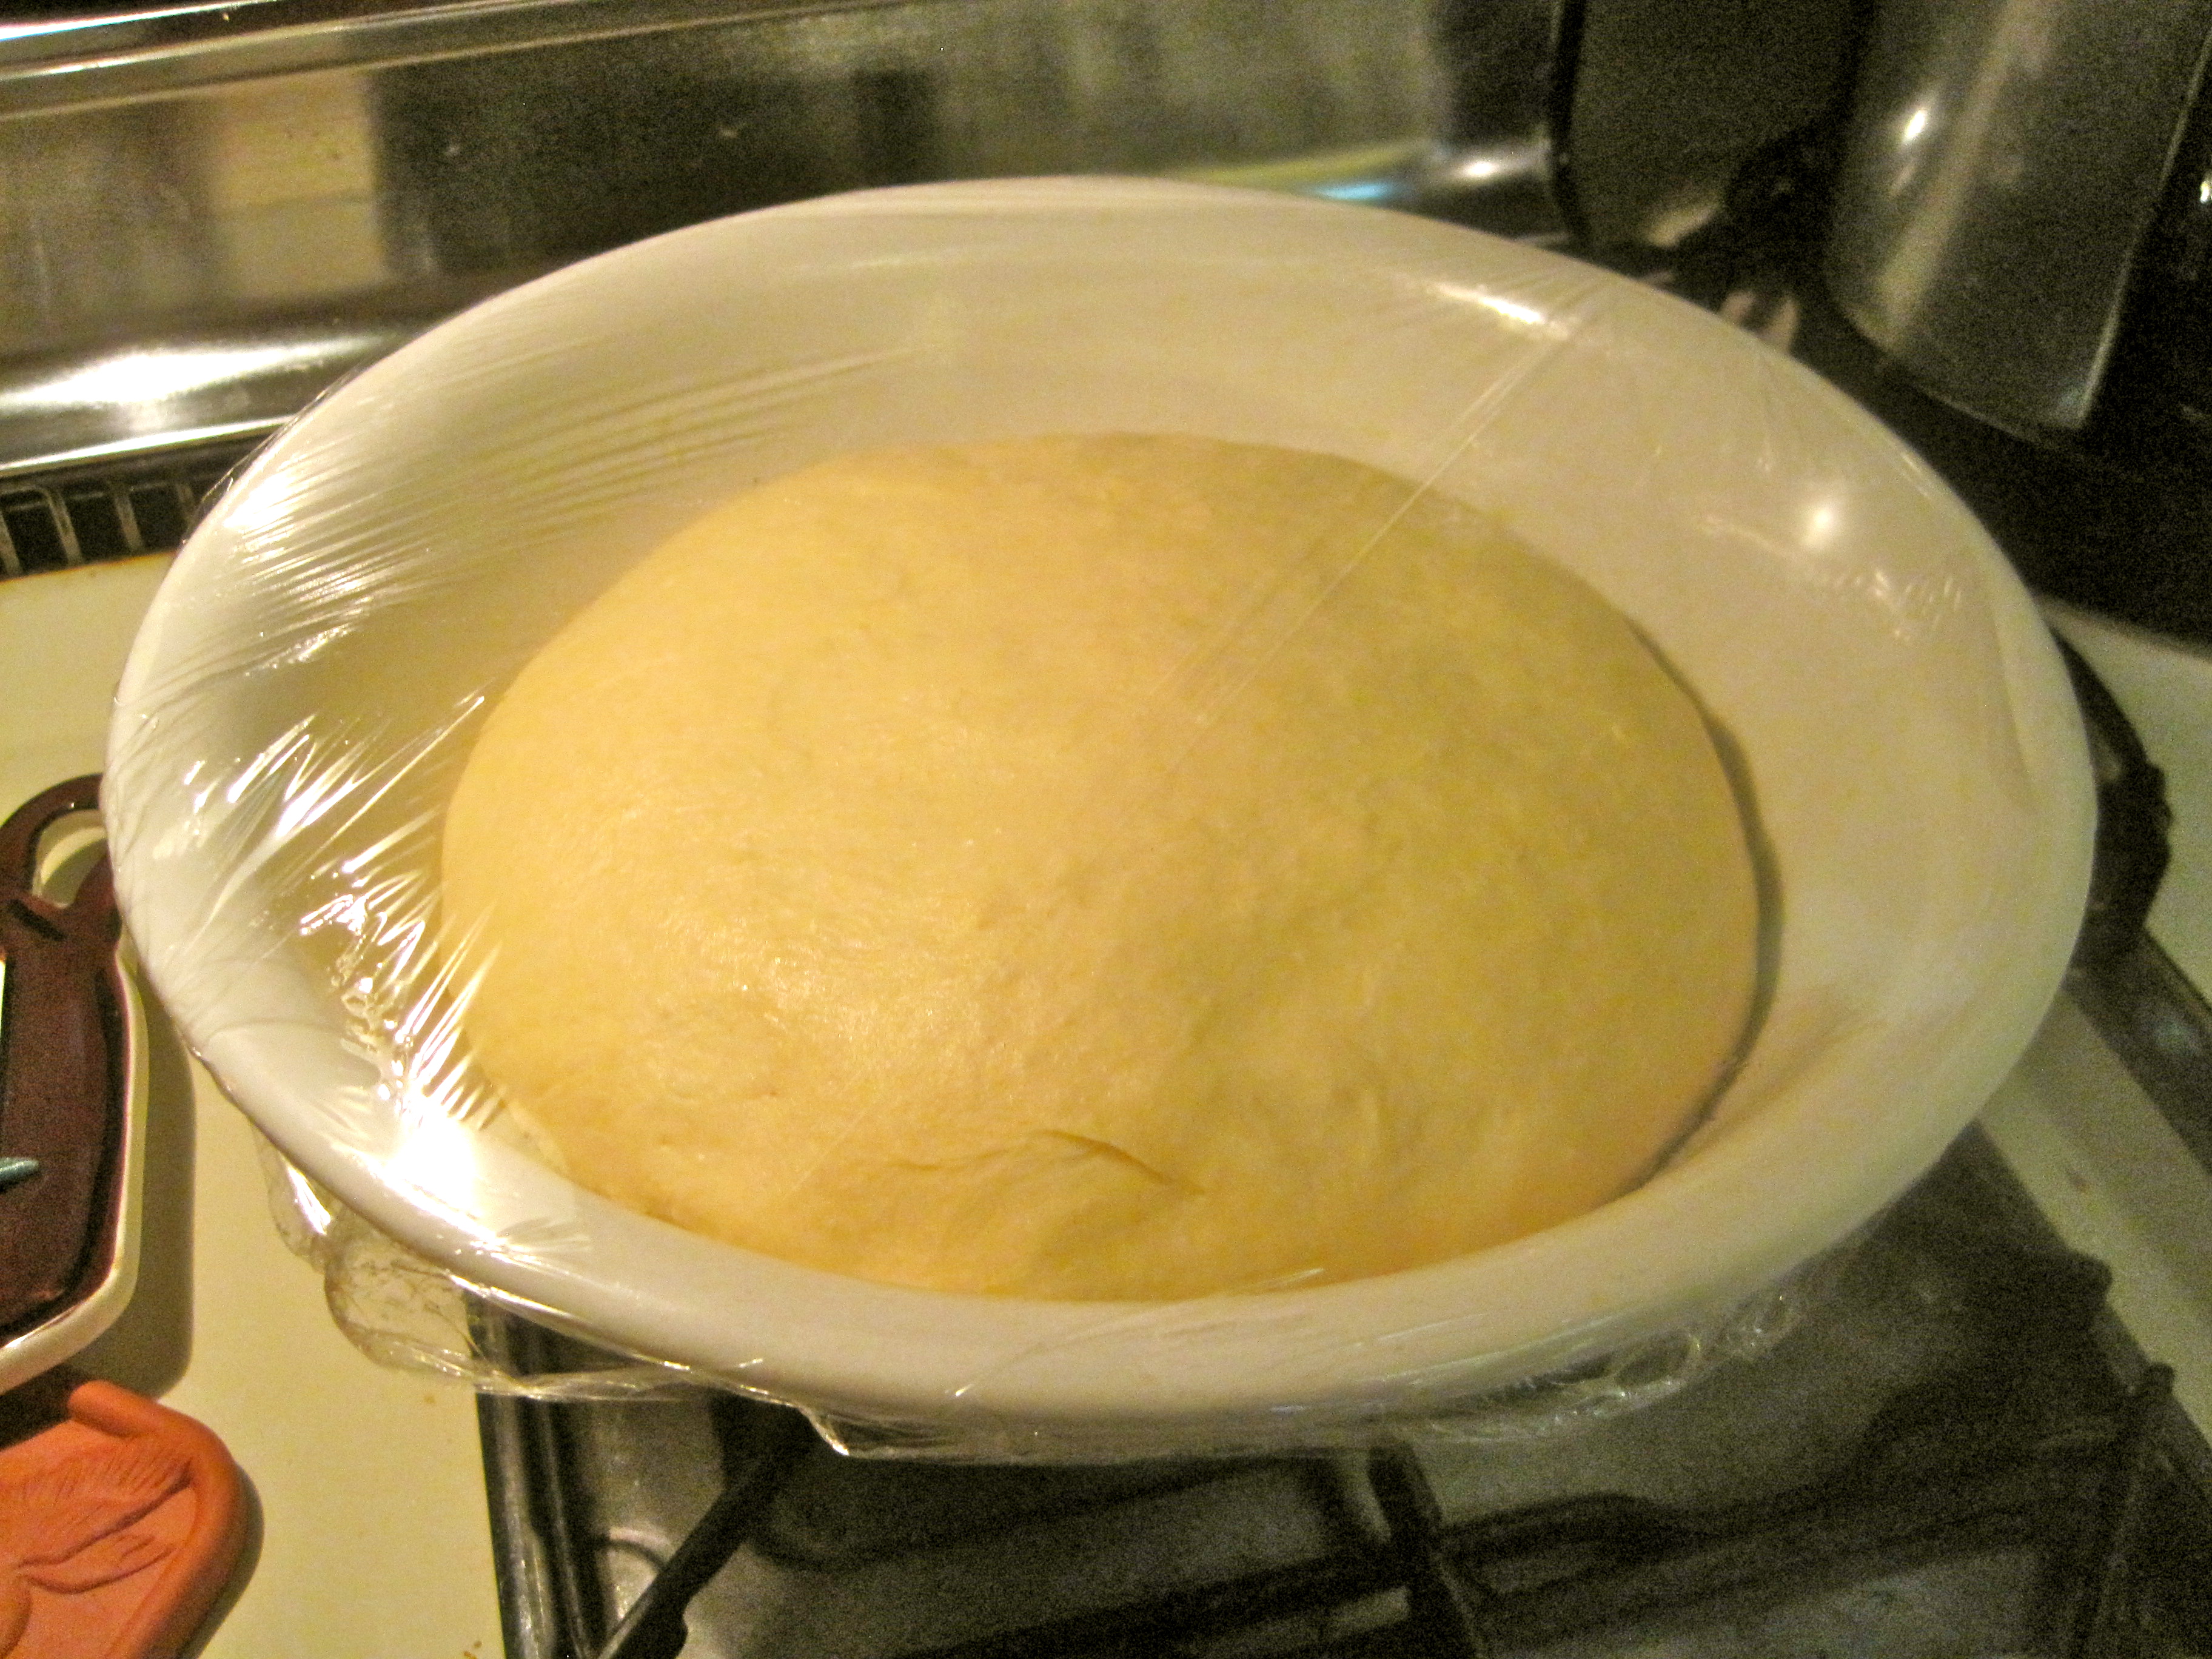
3. Once doubled, punch dough down to release the trapped gases and divide it into 8 pieces. I used a kitchen scale to ensure they were all about the same weight. Roll each piece into a ball, cover the balls with a damp kitchen towel, and let rest for 20 minutes. This step allows the dough to relax for easier shaping.
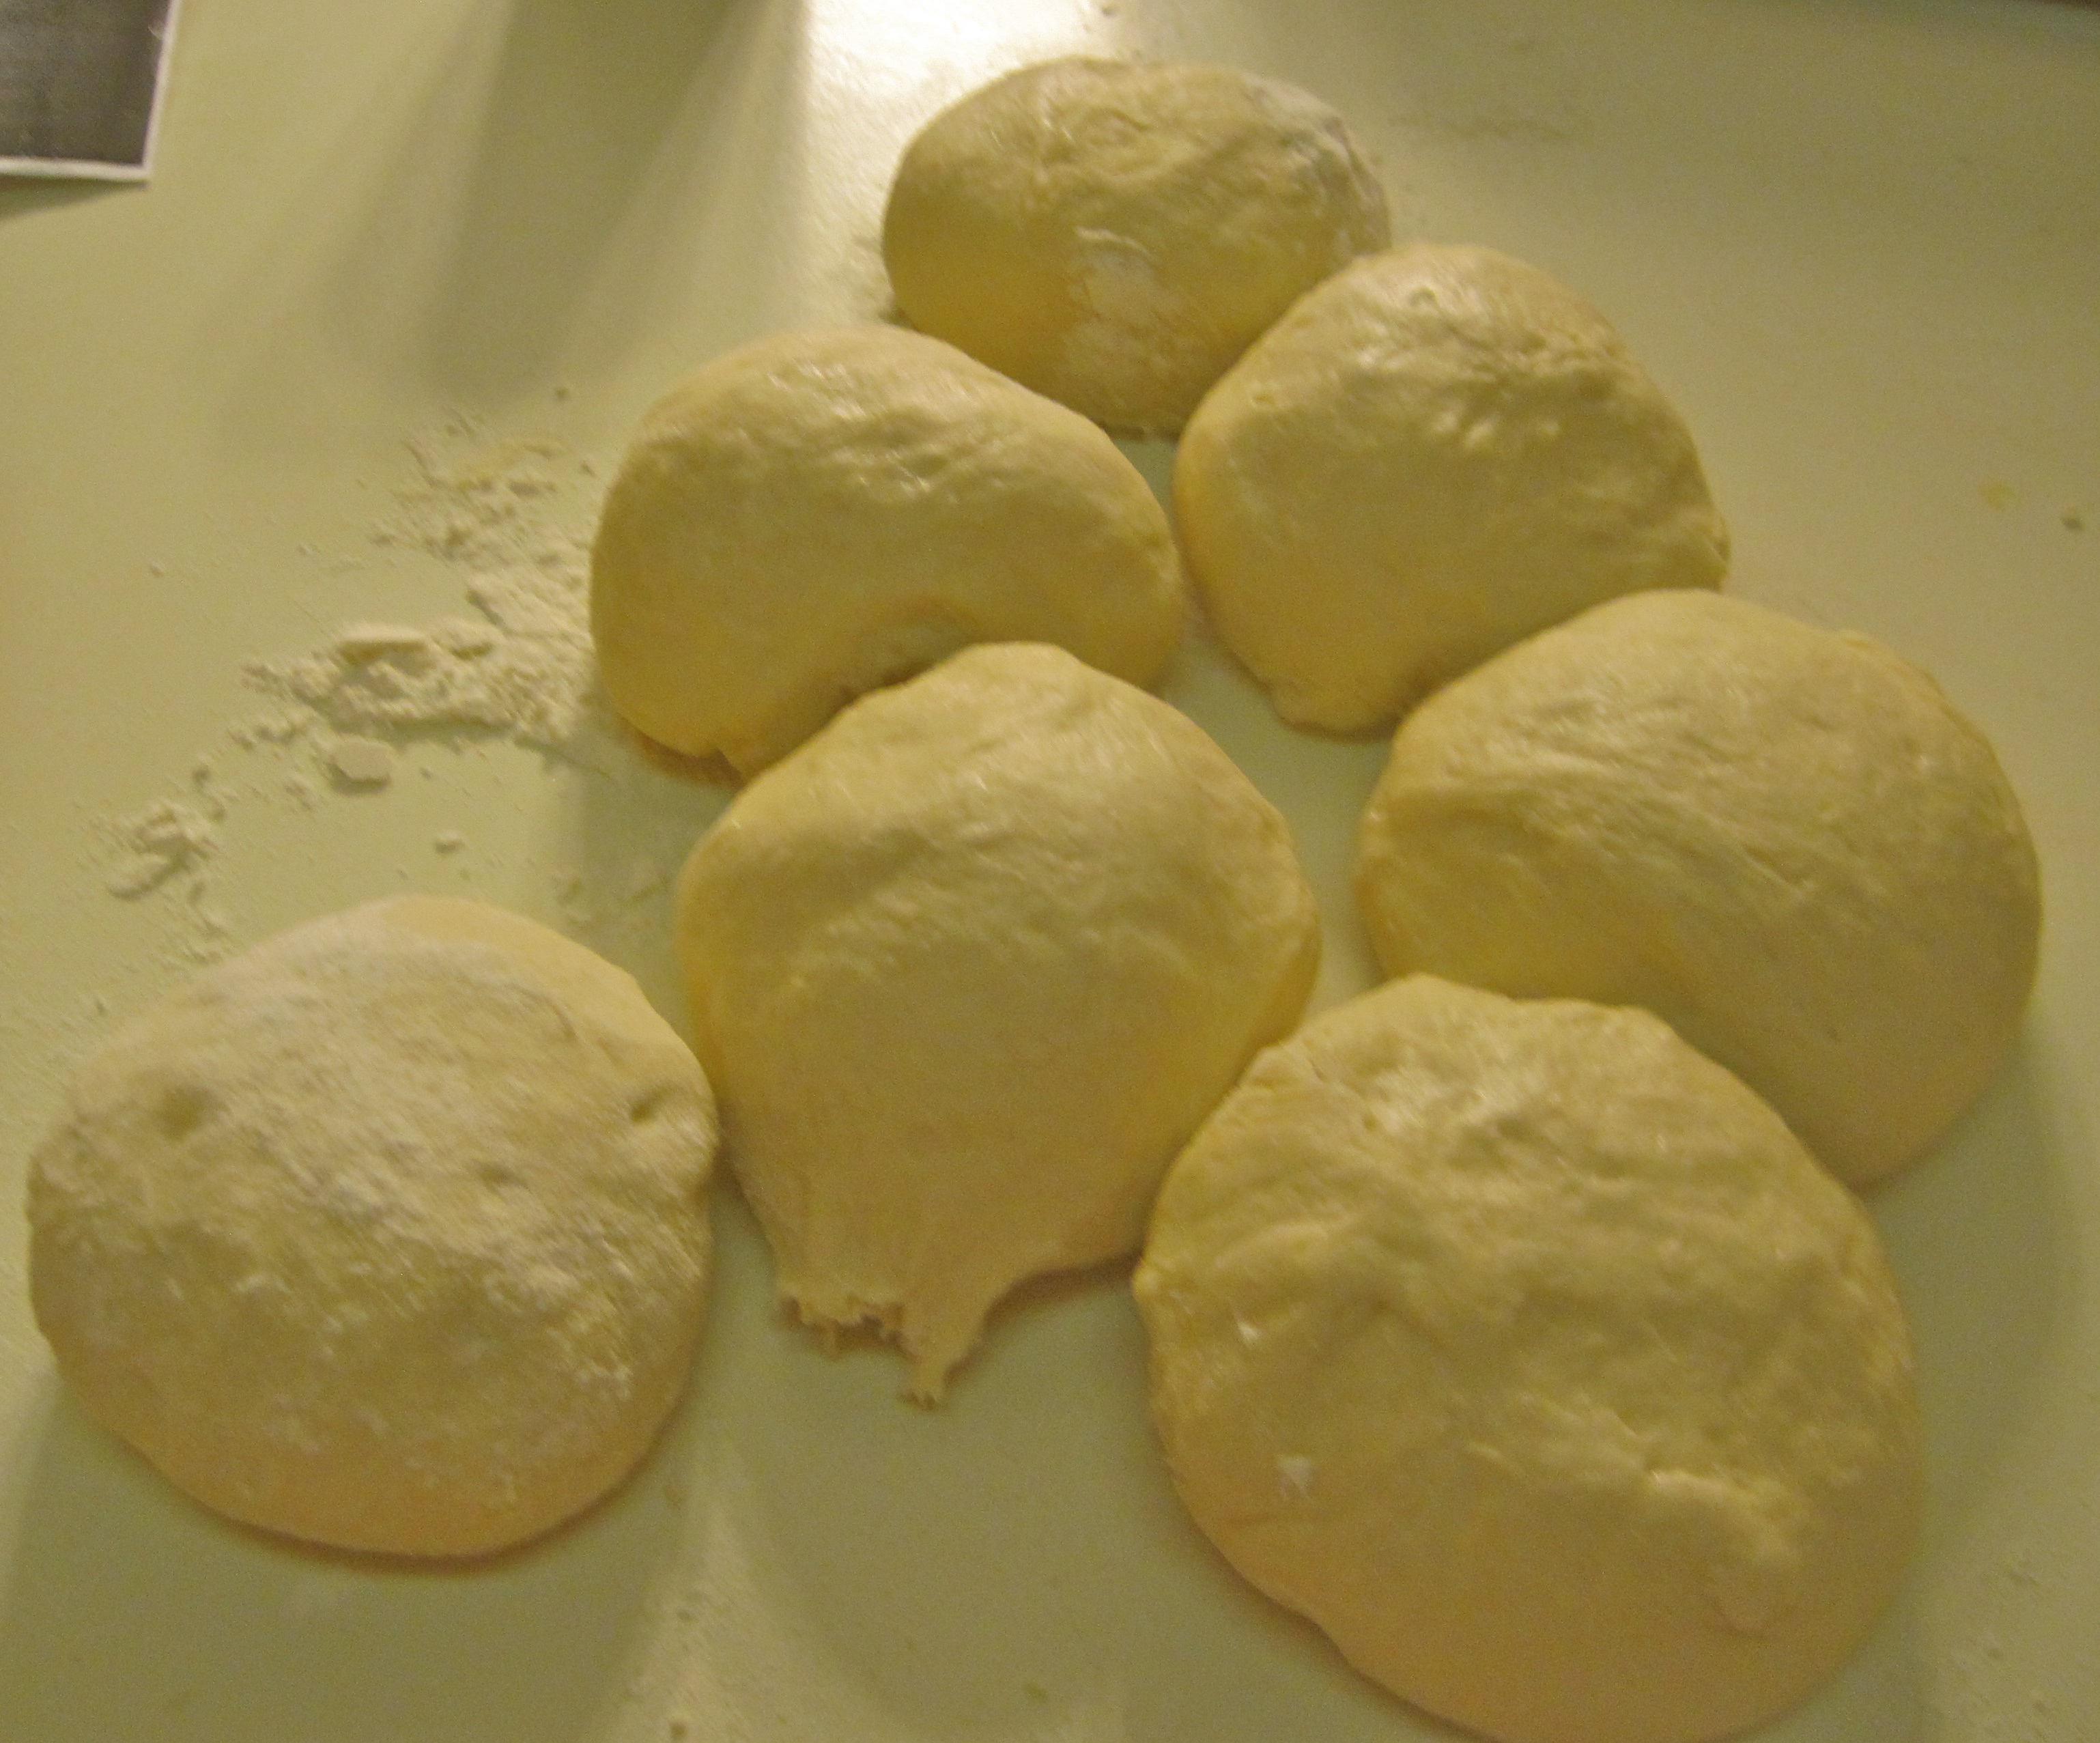
4. While dough is resting, preheat the oven to 450°F. If you have a baking stone, put it in the oven while preheat. If you don't have a baking stone, turn a cookie sheet upside down and place it on the middle rack of the oven while preheating.
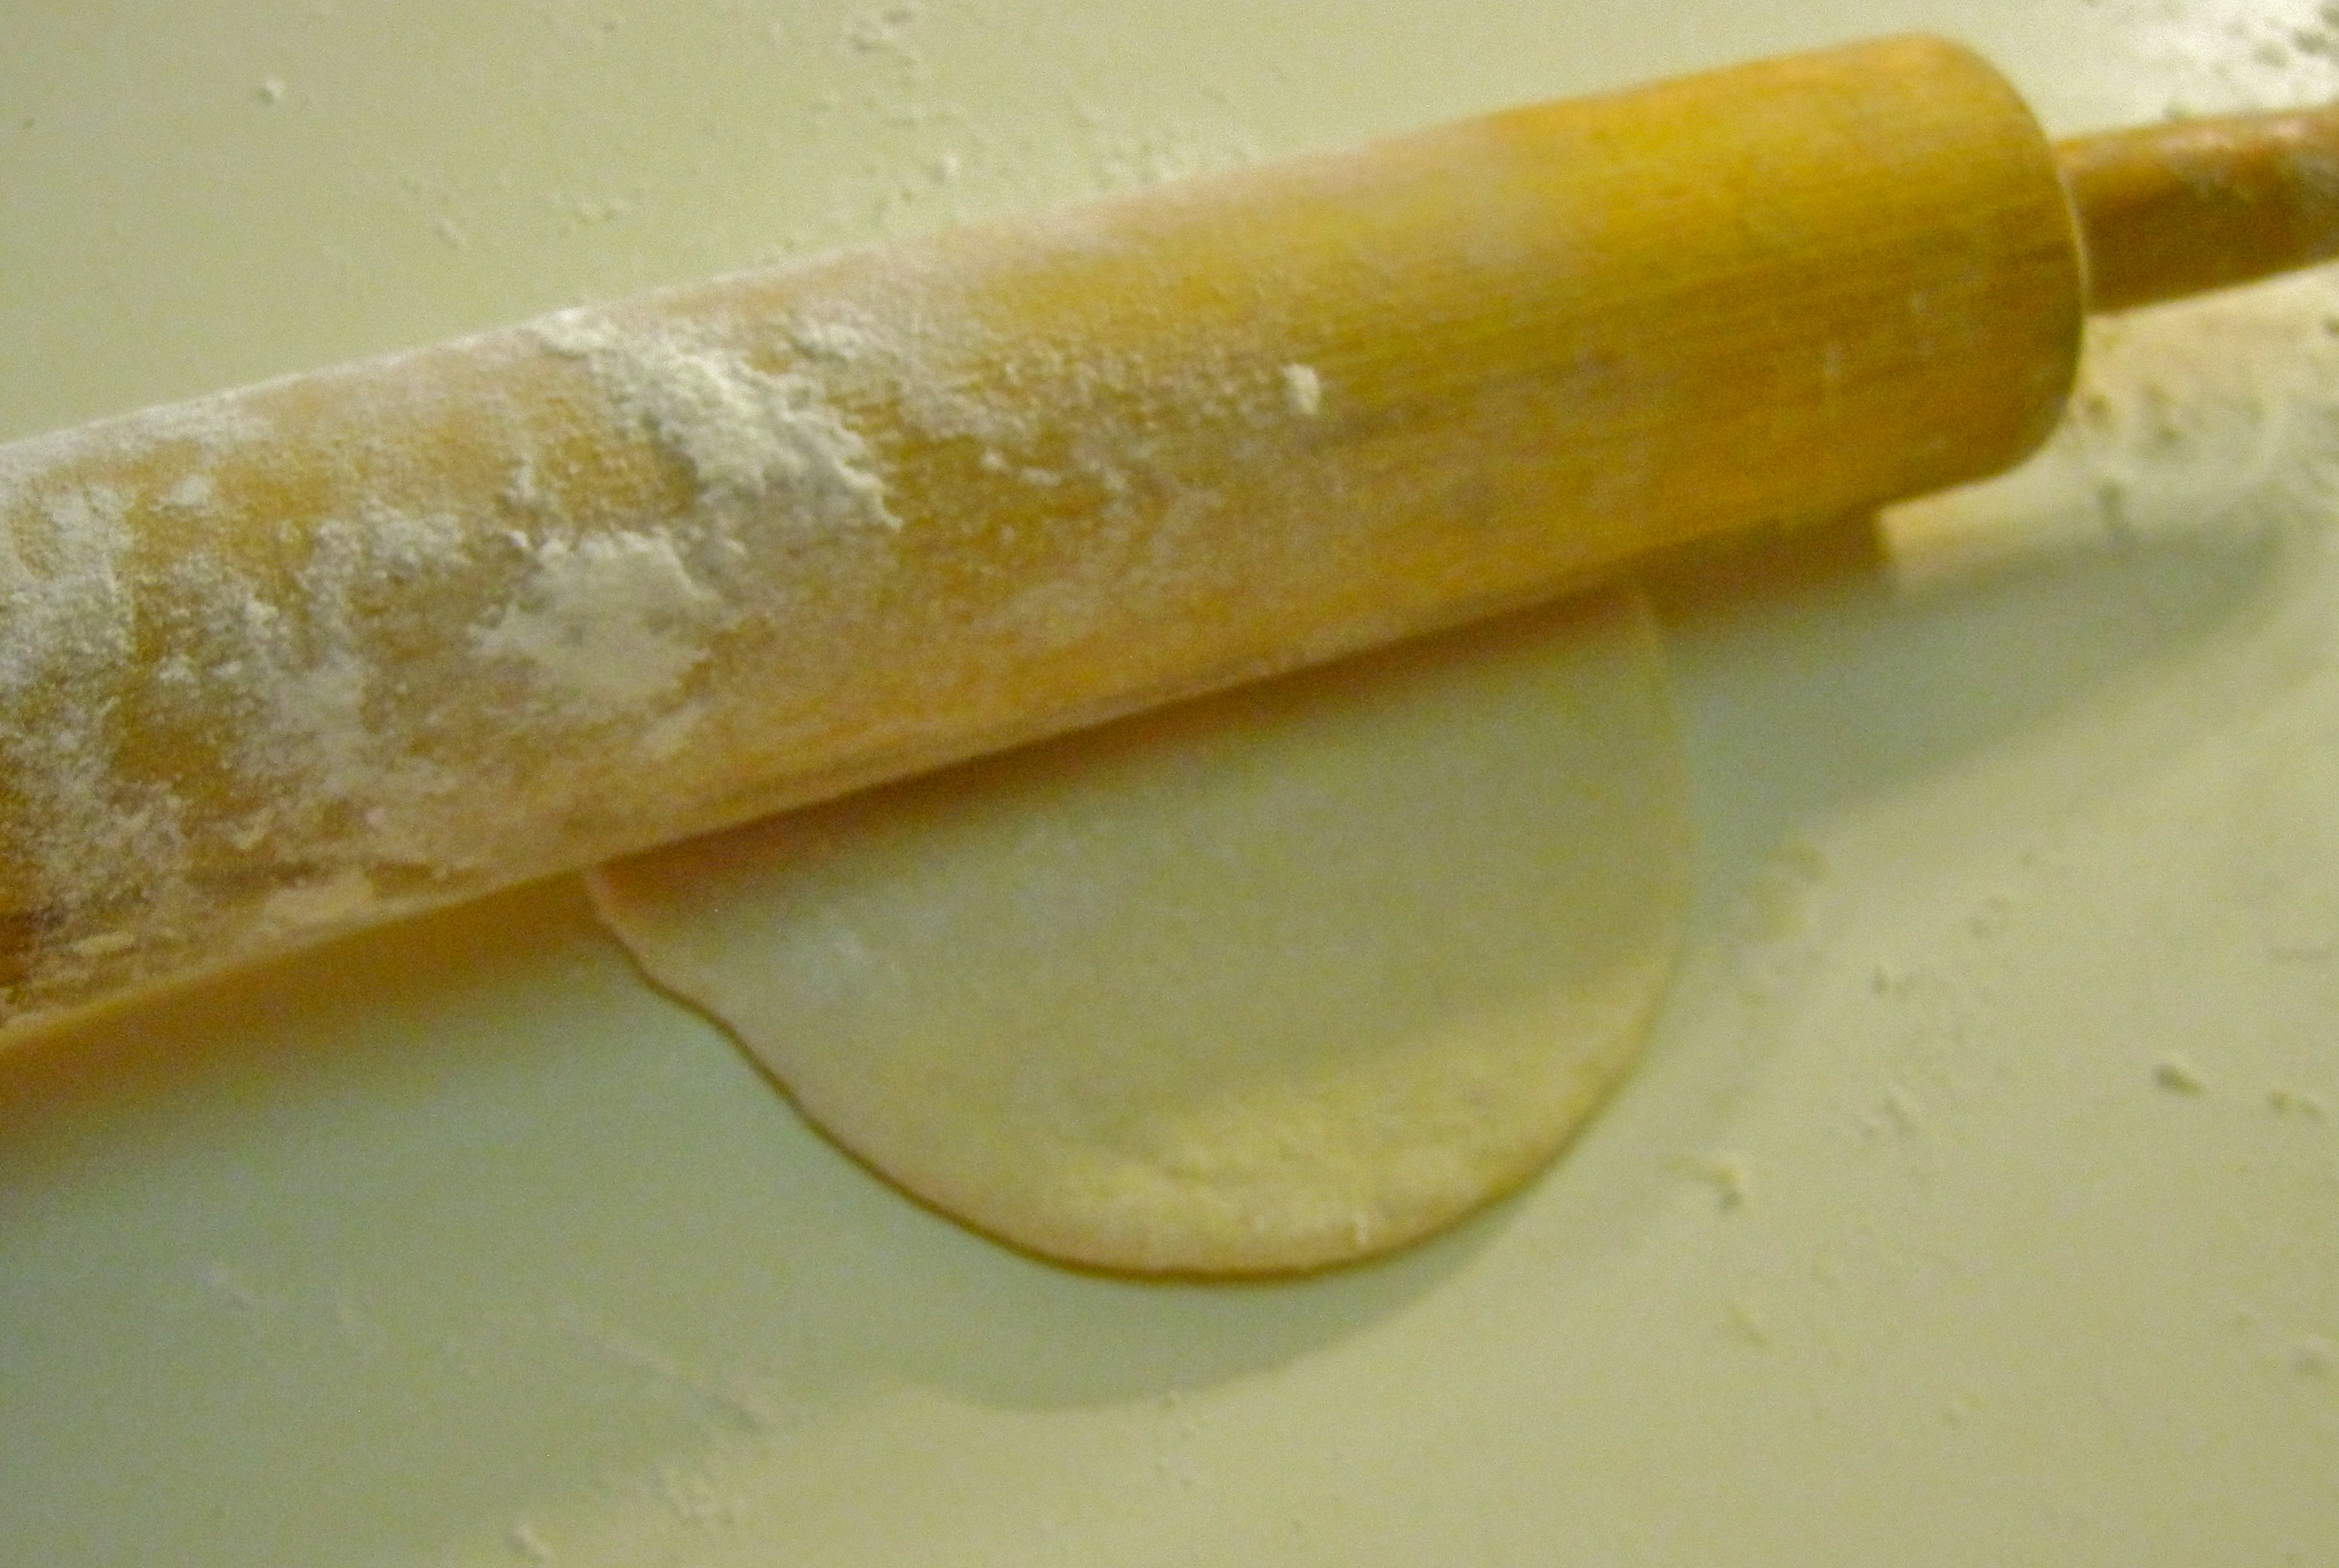
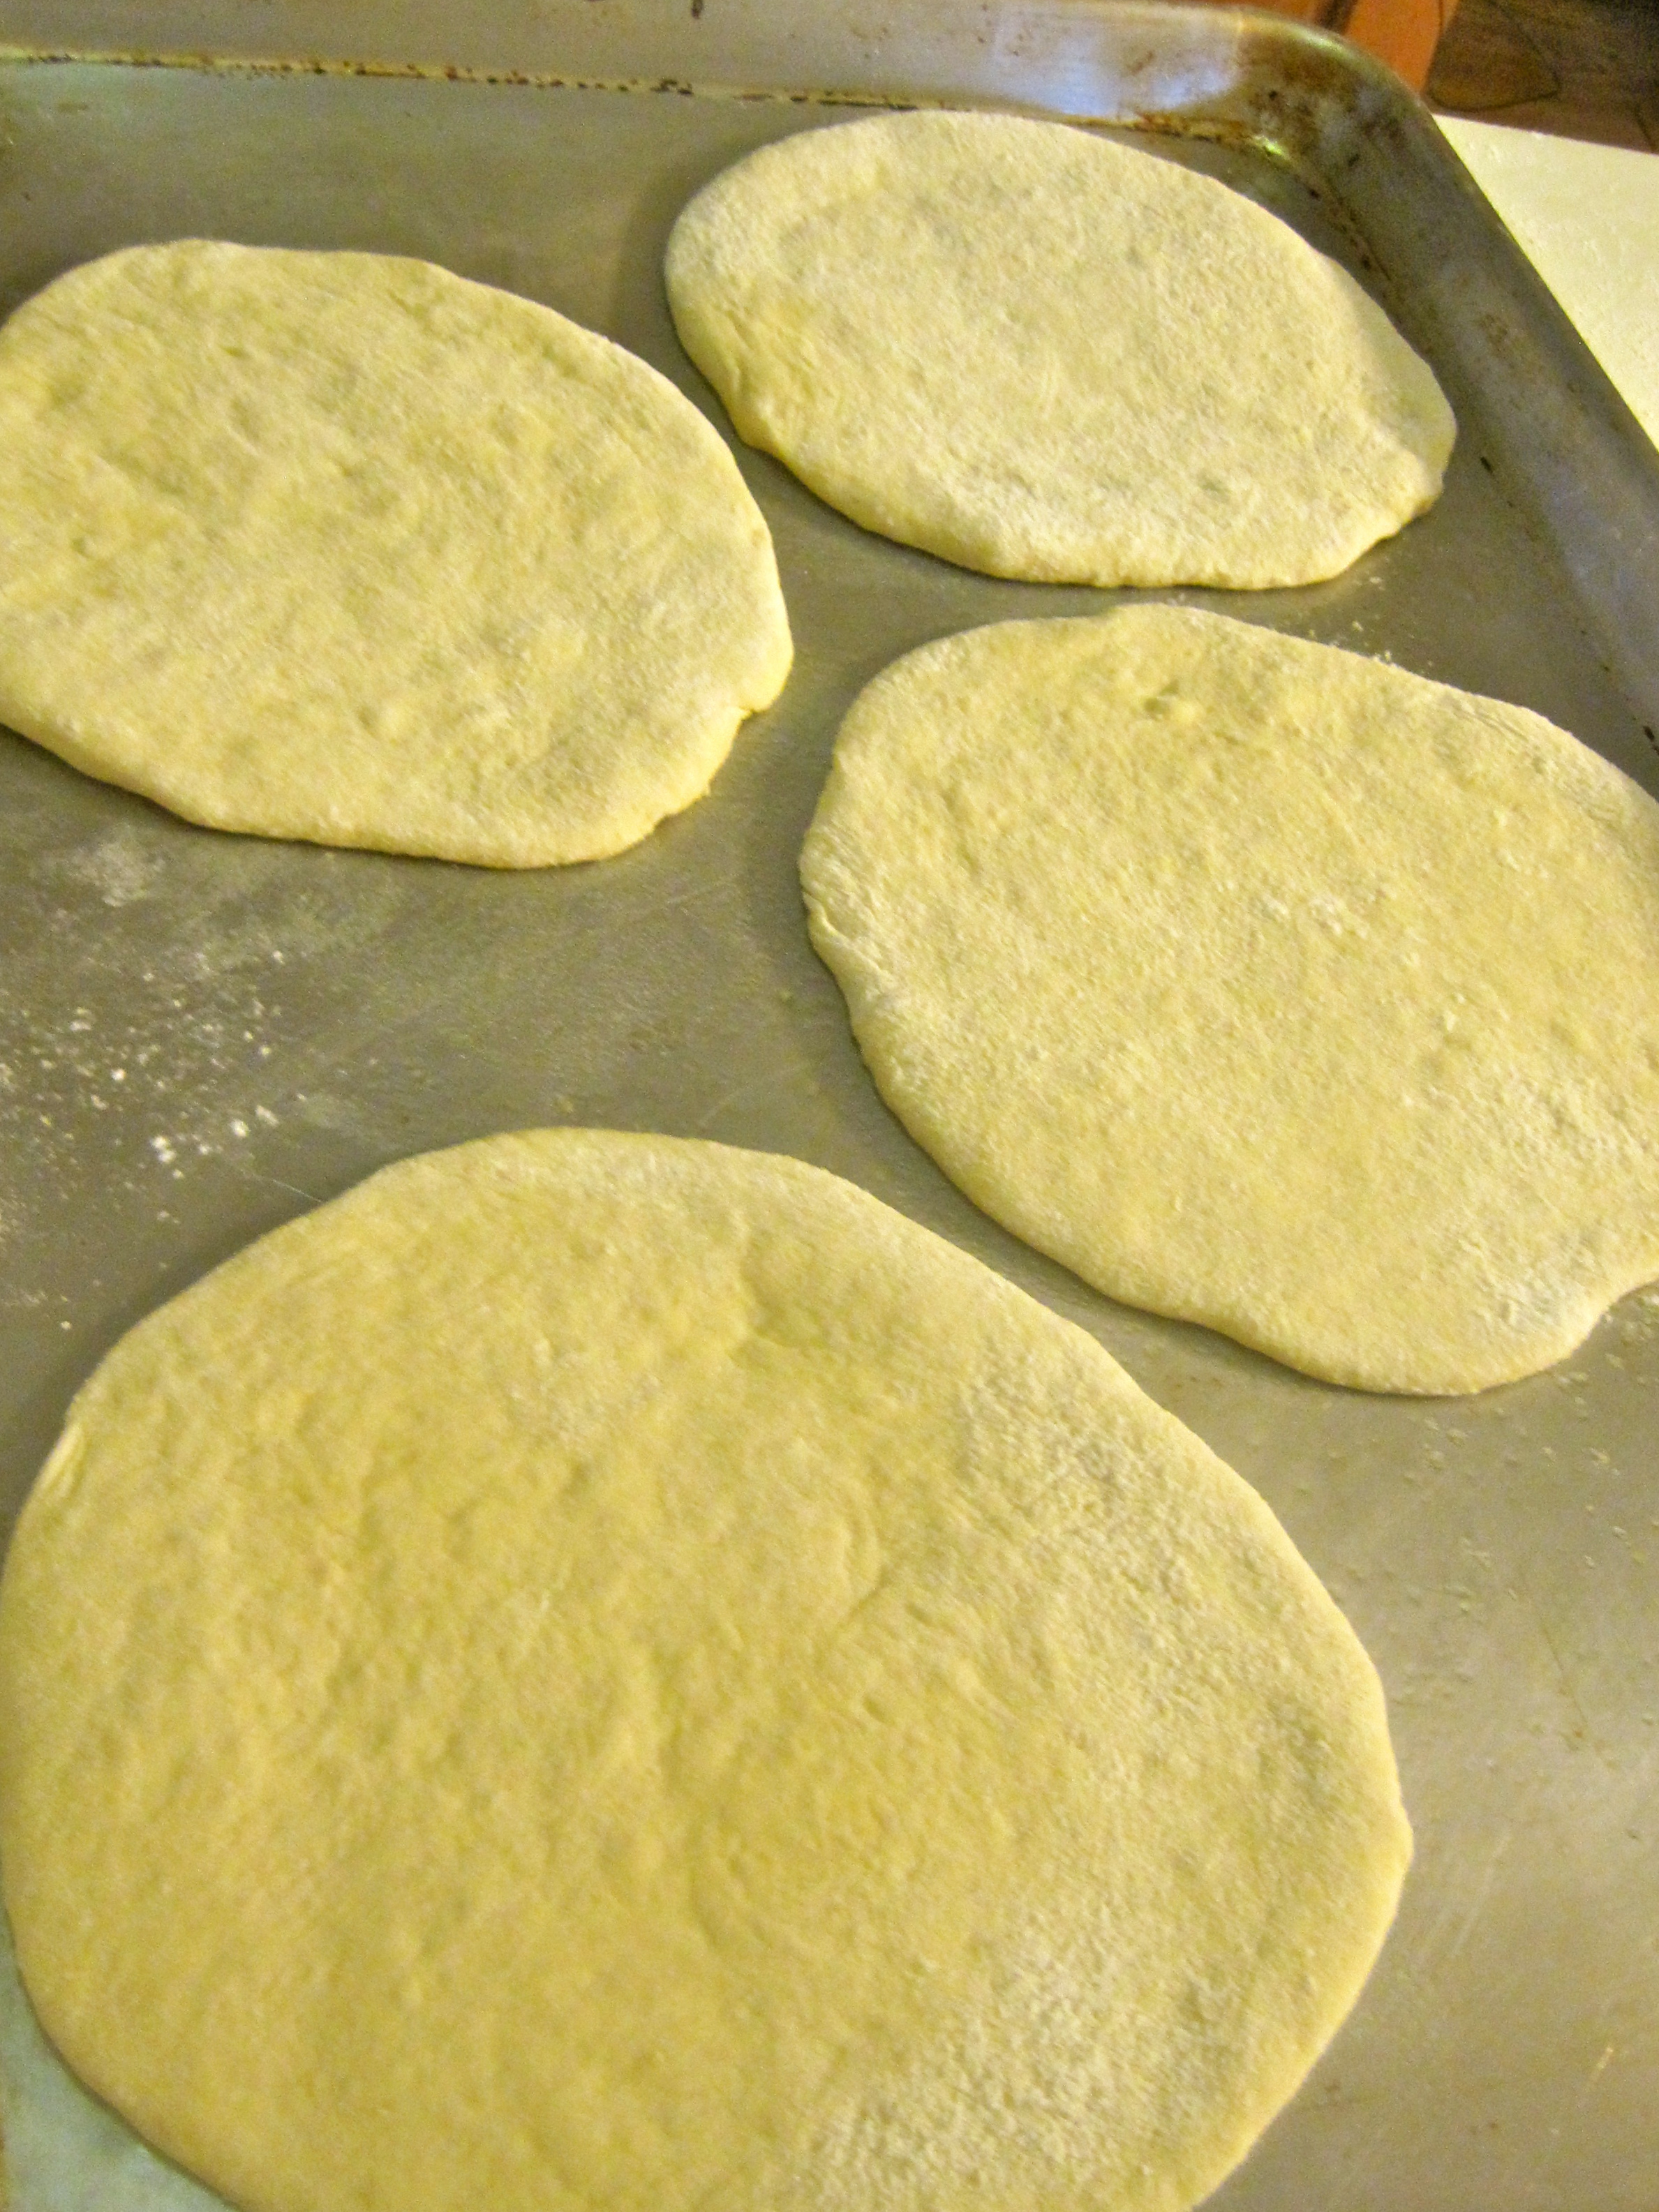
5. After dough has relaxed, place a dough ball on a lightly floured work surface. Sprinkle a little bit of flour on top of the dough and use a rolling pin (or wine bottle/hands) to stretch and flatten the dough. You want the pitas to be between 1/8 and 1/4 inch thick – 6 inches in diameter. If the dough does not stretch well, you can cover it with the damp towel and let it rest 5 to 10 minutes before trying again.
6. Place discs on a lightly greased baking sheet and let rise, uncovered, until barely doubled in thickness, about 30-45 minutes.
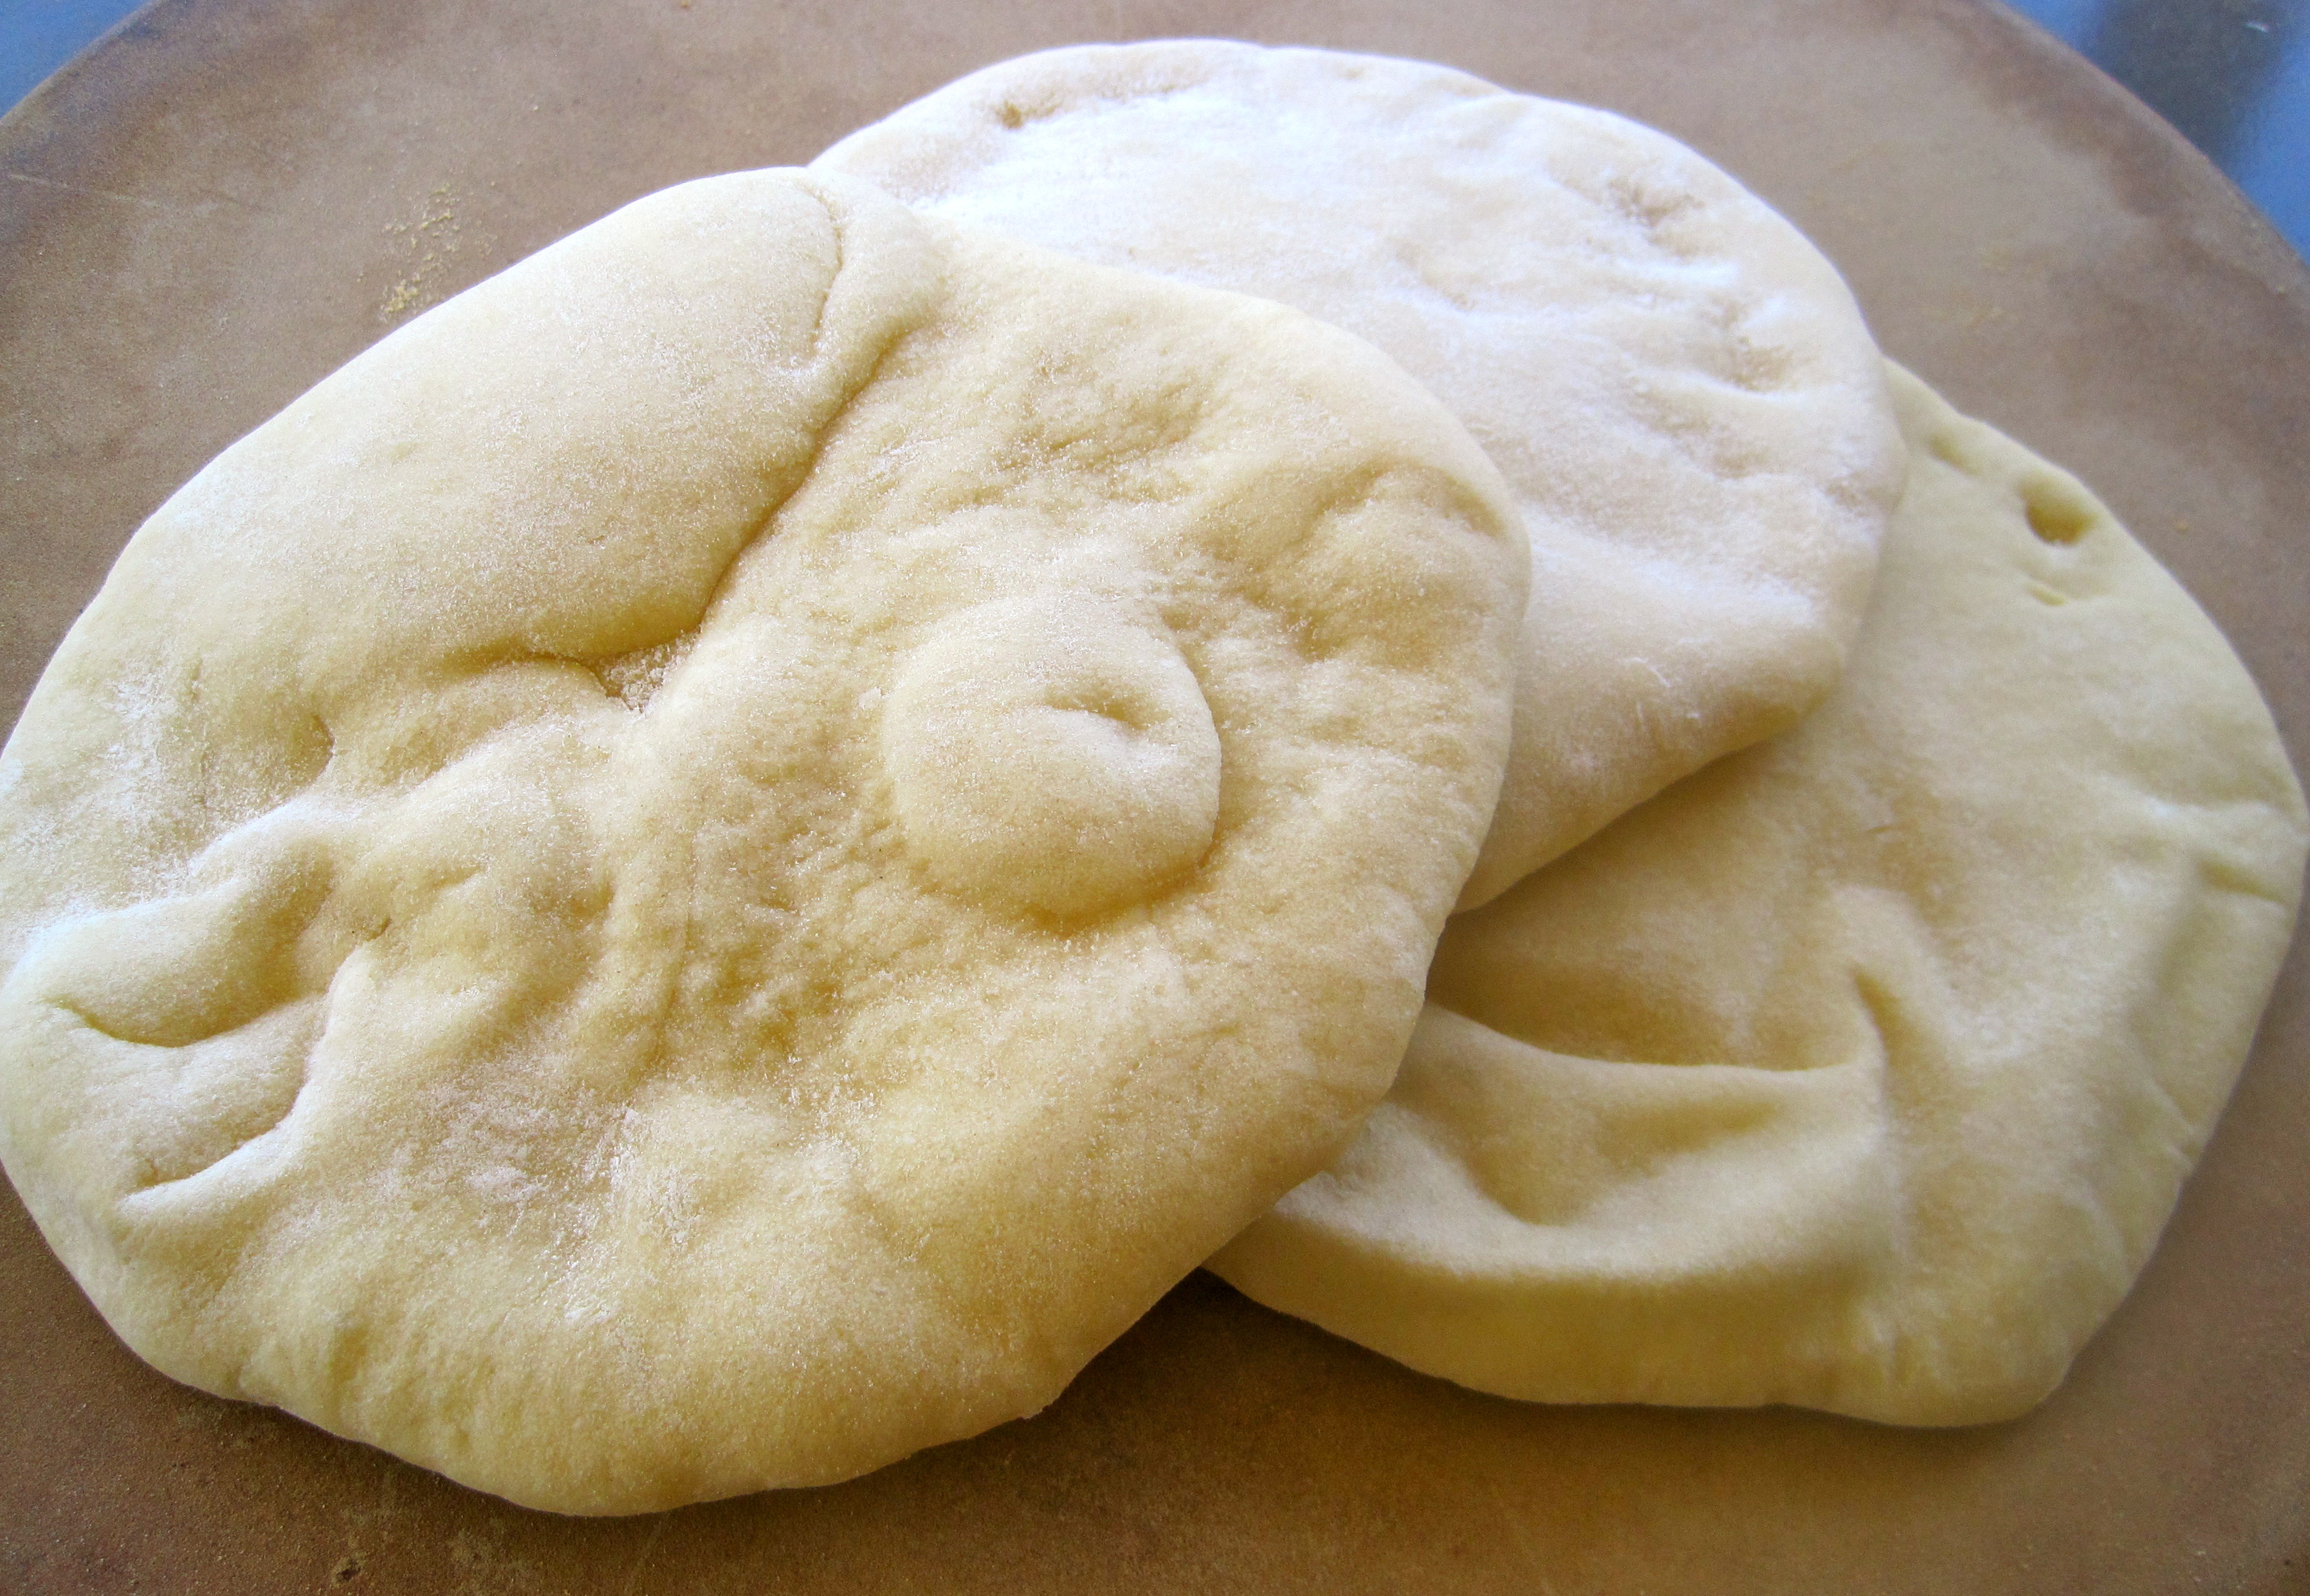
7. Open the oven and place as many pitas as you can - I fit 2 - on the hot baking surface. They should be baked through and puffy after 3 minutes. If you want a crisper pita, allow to cook for an additional 1 or 2 minutes. Serve pitas warmed or at room temperature. They freeze well for up to 1 month.
Recipe from Brown Eyed Baker
Related Recipes
Looking for more Cooking College Chick? Follow me on Twitter or Pinterest! You can also subscribe on the upper right hand bar to receive email updates! Happy Cooking!!!
